
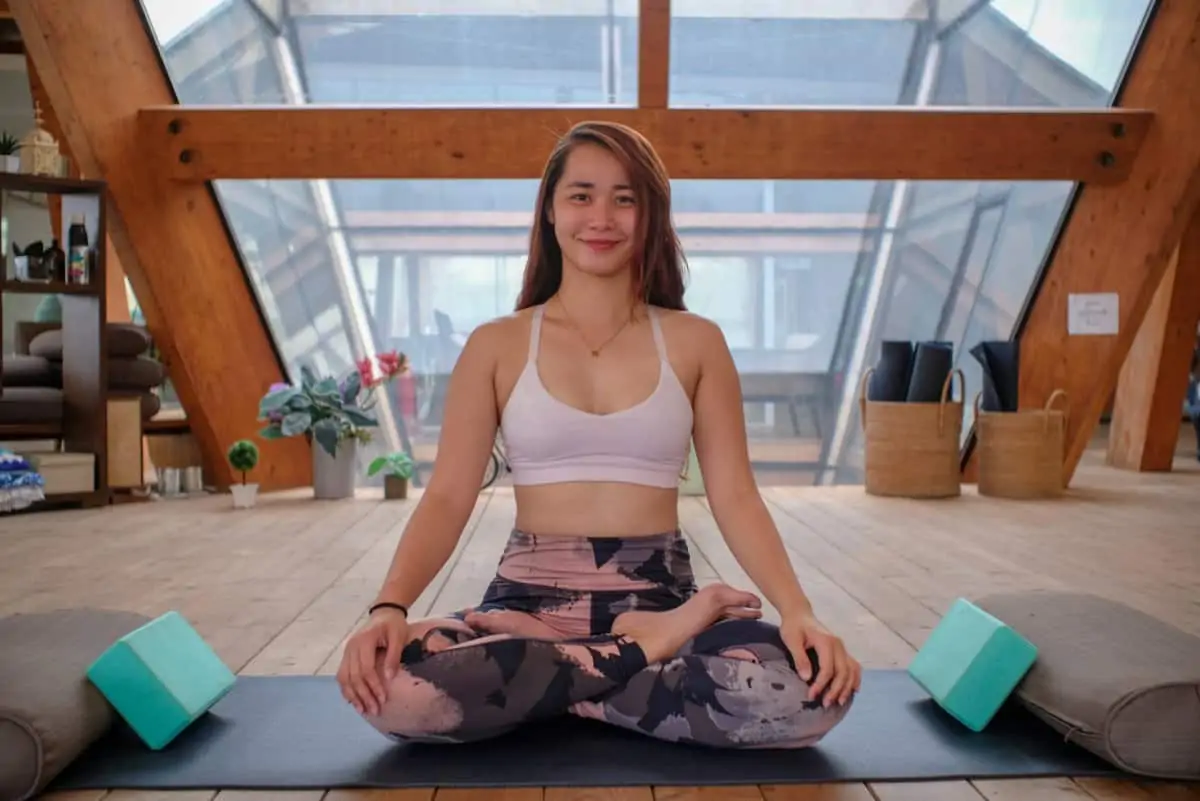
In this article you’ll learn everything you need about how to use yoga blocks and which are the best ones to buy.
You might have seen people in yoga class using various props (straps, yoga blocks, etc), but have never been quite sure how to use them yourself. After all, how could a cork or foam block possibly help you do yoga?
During my first few yoga classes, I thought the exact same thing. I ignored teachers’ advice to modify poses with yoga props. I don’t need those, I thought. But after a strained back and a few injuries from improper alignment and overextension, I realized that yoga blocks are one of the most valuable tools in a yogi’s tool box.
Here we’ll explore the many benefits of yoga blocks, how to use them, and where to find the best yoga blocks for your practice.
Contents
- 1 What is a Yoga Block?
- 2 Yoga Blocks Are Tools
- 3 Benefits of Yoga Blocks
- 4 How to Use Yoga Blocks
- 5 Yoga Blocks Make Yoga Poses More Accessible to Beginners
- 6 Use Yoga Blocks for Structure and Support in Deep Stretches
- 7 Yoga is Safer with Blocks
- 8 How To Add Challenge & Develop Strength with Yoga Blocks
- 9 Create Asymmetry with a Block
- 10 Use Yoga Blocks to Add Weight and Resistance
- 11 Yoga Blocks Help Stabilize Balancing Poses
- 12 How to Find the Best Yoga Blocks
- 13 Top 3 Best Yoga Blocks
What is a Yoga Block?
Yoga blocks are props that help yoga practitioners improve balance and flexibility, gain accessibility to advanced poses, prevent injuries, and build strength. They also just feel so dang good to help stretch out and relax.
Blocks can be made of foam, cork, or sometimes wood. They’re lightweight and easy to transport between classes or yoga on-the-go.
Yoga blocks tend to be about 4″ x 6″ x 9″, but you will find smaller and larger blocks depending on your preference. We review a few of of our favorite yoga block options below!
Yoga Blocks Are Tools
A yoga block is a tool and is nothing to be ashamed of. Beginner and advanced yogis use blocks (as well as straps, bolsters, blankets, and other props) to modify their practice in a way that perfectly suits their unique body. It is not “cheating” or “faking” yoga.
There is no shame in using yoga blocks. They are simply another tool in your yoga toolbox, just like a chef’s assortment of knives or a tennis player’s many rackets.
Why Use Yoga Blocks?
Yoga blocks aren’t just for beginner yogis, in fact they can be used in even the most advanced poses to add greater challenge and muscle-building opportunities.
Yoga blocks are:
- Versatile
- Affordable
- Easy to transport
- Comfortable
- Supportive
Blocks are also an amazing way to try out new yoga poses without risking hurting yourself. If I hadn’t been so stubborn in those early days, using a yoga block to ease into new asanas would’ve prevented a lot of strain on my body.
There is no shame in modifying your practice! After all, yoga accessories have been used for thousands of years. Even famous yoga teachers like BKS Iyengar recommended students use a yoga block to improve their practice.
Benefits of Yoga Blocks
- Improve accessibility for beginners
- Add structural support to vulnerable body parts
- Improve the safety of yoga asanas
- Add challenge and build strength
- Help stabilize in balancing poses
How to Use Yoga Blocks
Use Yoga Blocks to Balance & Flexibility
If you’re trying to get the hang of a new balancing pose, a yoga block may seem like a crutch. But it actually helps your body adjust to the change in stability while remaining in alignment. Gradually improve your balance or flexibility with a yoga block so that you can eventually achieve advanced expressions of asanas without rushing into it.
Use Yoga Blocks for Accessibility
Yoga blocks essentially bring the floor closer to your body. You can make poses more accessible by decreasing the distance you need to stretch. A yoga block helps support your back during restorative postures that may be inaccessible to some yogis.
Prevent Injury with a Yoga Block
Yoga blocks are one of the best tools for preventing injuries during our yoga practice. In my case, it required setting my ego aside so that I could lean on the yoga block as an ally rather than something to be embarrassed of.
Because they are supportive and bring the “floor” closer to you, yoga blocks help prevent straining, overextending, falling, or pushing your body too far.
Use a Block to Build Strength
Lastly, yoga blocks actually build a lot of strength over time. While a cork or foam block may not seem very heavy, try passively holding it up between your hands in a prolonged chair pose. This will strengthen your upper body while keeping your muscles activated.
You can also press into a block between your legs to keep your hips aligned and inner thighs engaged. Yoga block strengthening is a form of isometric exercise that tones and challenges muscles while also supporting the finer muscle fascia.
Yoga Blocks Make Yoga Poses More Accessible to Beginners
So why do you need a yoga block? Yoga blocks can make new poses safer, more comfortable, and more accessible to beginners. Take a simple Forward Fold (Uttanasana), for example. If you can’t yet reach your toes, don’t worry.
Many yogis have tight hamstrings and significant low back or knee pain. It is a bad idea to collapse the back while forcing the hands to the floor. Using a yoga block in Standing Forward Fold helps shift weight into the hands and relieve any stress on the lower back. It also increases the range of motion in your hips over time while keeping the strain off your spine.
Standing Forward Fold (Uttanasana) with a Block Support:

- Start standing in Mountain Pose, with feet hips width apart and a yoga block on the floor in front of you
- Place hands on hips and fold forward from the pelvis with the knees slightly bent
- Careful not to arch or strain the low back
- Place your hands on the block (it can be length-ways or upstanding, depending on the ideal height for your body)
- Release any tension from the head and neck by letting them follow the trajectory of your body into a straight alignment
- Take a few deep breaths, slightly pressing your hands into the block and slowly straightening the legs for a hamstring stretch
- Push the hips toward the sky and try to keep the spine straight
- Release by bending the knees, returning hands to hips, engaging the core, and slowly standing up
Bridge Pose (Setu Bandhasana) with a Yoga Block

Bridge pose is a simple back bend from a supine (laying down) position. But you’d be surprised how easy it is to push your hips too high and hurt your lower back in this asana. To make bridge pose more passively restorative, try it with a block:
- Start laying flat on your back with arms straight along your sides, palms to the floor
- Bend your knees and place feet flat to the ground about a foot from your glutes
- Tuck your chin and raise your hips slightly up, knees bent at around a 90° angle
- Place a yoga block underneath your low back at the base of the spine
- Feel your chest opening and spine resting into the support of the block as you gradually bend open
- Breathe and release
On the other hand, you may be looking for more strength and engagement in bridge pose. You can use a isometric exercise with a yoga block to strengthen the inner thighs.
- Start laying flat with knees bent up hip width apart
- Place a block length-wise between your inner thighs
- Squeeze and engage your legs against the block
- Lift glutes up into a bridge pose, maintaining a neutral spine and knees at a 90° angle above the ankles
- Breathe and hold, actively pushing the block between your legs
- Exhale and release, removing the block to the side and lowering to the mat
Warrior III with Blocks

The most important thing to remember in Warrior III pose is keep the hips square so the spine stays aligned. This can be difficult to do with tight hamstrings or less experience in balancing poses. That’s where yoga blocks come in!
- Start standing in the middle of your mat
- Place two blocks shoulder width-apart about 12″ in front of your standing foot
- Inhale the hands up
- Engage the glutes and quads, then shift the weight into your right leg
- Exhale and slowly hinge forward, letting your left foot and straightening the leg out behind you
- As you hinge, let your hands reach forward and down to hold your blocks for balance
- Maintain square hips and a straight spine, with both hips facing the ground
- Hands should be stacked under shoulders and core engaged
- Maintain a long spine and neck, looking to the front edge of your mat
- Breathe, hold, and then release by engaging the core, lifting the arms, and returning the left leg to the floor
- Repeat on the other side
Modified Downward Facing Dog

If downward facing dog is difficult for you due to tight hamstrings or shoulder muscles, try placing blocks beneath your hands to make it more accessible and less straining on the wrists.
- Start in tabletop position, knees beneath hips and hands beneath shoulders
- Place two foam blocks under your palms
- Inhale and push into the blocks, straighten your legs and push your butt toward the ceiling into downward facing dog
- Use the blocks to relieve wrist pressure and shift more weight into the heels
If you want to deepen the posture and add more challenge, place two blocks under your feet for a deeper stretch.
- Start in standing position with two yoga blocks placed in front of your feet
- Step onto the blocks and gain firm footing
- Exhale down into a forward fold
- Walk your hands forward until you can reach a comfortable down dog position
- Press your heels into the blocks and feel a deeper hamstring stretch
Use Yoga Blocks for Structure and Support in Deep Stretches

Yoga blocks can also give you an amazing stretch and release for the back. In supported Fish Pose (Matsyasana), a block is placed between the shoulder blades and your weight is pushed back over the block for stability and stretch.
Then, you can just let go and feel your spine melt open as your heart reaches for the sky. This block-modified asana provides incredible relief from upper back pain and pent-up stress. The block gives more stability and allows for spinal extension, as well as deep opening in the heart and chest. Trust me, this feels ah-mazing!
How to Do Supported Fish Pose (Matsyasana):

- Arrange a block (preferably cork or foam) lengthwise near the top of your mat
- From a seated position with the legs extended, slowly lean back onto the block
- Position the block between the shoulder blades and down to the top of your rib cage
- Breathe deeply and exhale to release back, allowing the neck to release and the base of the head to touch the floor
- Keep hands out to your sides, palms to the floor
- Optional: use a second yoga block or bolster to support underneath your head
- Optional: bring the bottoms of the feet together
Yoga is Safer with Blocks
Blocks make yoga safer for children, elderly people, or anyone with underlying injuries. They can be super useful for teachers and students alike. The reason yoga blocks add safety to any practice is because they quite literally take the pressure off.
They add support to fragile areas like the spine, hips, or head. Yoga blocks also raise the floor up so that students can move from the proper areas of the body. The block adds additional stability to press against, making poses like Bridge Pose (Setu Bandha Sarvangasana) more restorative rather than active strengthening.
How to do Supported Bridge Pose (Setu Bandha Sarvangasana):

- Start flat on your back with arms and legs outstretched and a block to your side
- Bend the knees and place your feet on the ground about hips-width apart
- Gently lift your hips toward the ceiling and slip a yoga block beneath your sacrum
- Relax into the block and release any tension, breathing into the lower back opening
- To release, slowly remove the block and lower the hips back to the floor
How To Add Challenge & Develop Strength with Yoga Blocks

On the flip side, yoga blocks are not only for modifying poses into safer or easier versions, but also to add extra challenge. Once again, there is sometimes a stigma around advanced yogis avoiding blocks. Honestly they are missing out on extra strength-building opportunities!
The basic principles of exercise tell us that our body needs adaptation and progressive overload to build muscle over time. The more times we practice a certain yoga pose, the easier it gets because our body adapts to the posture. We go into “maintenance mode”.
In order to continue progressing, we must add extra challenges to keep strengthening and deepening our practice. Yoga blocks are an excellent way to push into new realms of strength and power in certain asanas.
Create Asymmetry with a Block
If you’d like to make a typically symmetrical pose more challenging, simply add a block. Think about Plank Pose (Phalakasana). You are placing equal weight on both arms and legs. Adding a block beneath one arm will make the lengthened arm work harder.
The shift in weight works your core and improves upper body strength. You can even try lifting the alternate leg to challenge balance and strength simultaneously. Be sure to practice each side for an equal amount of time.
Use Yoga Blocks to Add Weight and Resistance
Some yogis use blocks as a source of weight and tension. A standard cork or foam yoga block may not seem very heavy, but when it is held above your head for an extended period of time, it tones the arms.
By pressing the hands into the block, you can add more tension and resistance while working the abdominals and obliques. Keep the shoulders activated as you squeeze the block for maximum benefits.
Yoga Blocks Help Stabilize Balancing Poses

It is always helpful to have someone (or something) to lean on. Balancing poses (especially twisted ones) can be incredibly intimidating, even to experienced yogis. Yoga blocks provide the perfect stability to explore new balancing asanas without risking any major falls.
A block helps with balancing because it brings the “floor” up closer to your hands. This is especially helpful in a pose like Half Moon (Ardha Chandrasana). The two opposing actions of grounding in the earth with your standing leg and reaching your raised leg out can cause quite a bit of destabilization.
Things get even more difficult when you don’t quite have the core strength to hold yourself sideways, nor the hamstring flexibility to fully reach the floor. In comes the yoga block: a perfect stepping stone toward mastering this joyful moon-inspired pose.
How to do Block-Supported Ardha Chandrasana:

- Start standing at the top of the mat with a block nearby
- Turn to the side and face the wall
- Extend your arms out to the side and step the feet out about as far apart as your wrists
- Rotate the front (right) foot 90 degrees so it is facing the top of the mat
- Turn the back (left) foot toes slightly in and align the back arch with your front heel
- Reach your right hand forward above your foot, positioning the block about a torso-length in front
- Reach the left arm up toward the sky
- Engage the right leg and slowly lift the back leg up, stacking the hips
- Press front hand into your block or only touch it with the tip of your fingers for stability
- Engage the core and glutes, trying to stack the shoulders and align the hips directly above each other
- Look up toward the sky
- To exit, slowly bring the flying leg down and release
How to Find the Best Yoga Blocks
In life, you get what you pay for, and it’s no different with yoga blocks. Cheap yoga blocks fail at providing stability, support, or comfort. Here we review the top best yoga blocks used by studios and yoga teachers around the world.
As you shop for blocks, remember that you definitely want two yoga blocks. Most blocks come in pairs, but the ones that are sold individually are simply not worth it. Certain poses require a pair of blocks for symmetry and proper support. So don’t skimp on the full pair.
Cheap vs. Premium Yoga Blocks
Cheap foam will fall apart and leave annoying little plastic pieces around your studio. Flimsy blocks will get squishy or lose their structure over time. Or sometimes they can be so hard that they hurt to put pressure on.
Cheap yoga blocks can also be made of toxic materials that off-gas or smell bad. They can harbor sweat and dirt (and, trust me, they are not easy to clean). A cheap yoga block may get you through a few practices, but it’s better to invest in something sustainable and trustworthy with your full bodyweight.
Premium yoga blocks, on the other hand, are dense yet soft. They support you yet don’t dig into your bones when you put pressure on them. You can trust that the block will last for many years of yoga to come, and that it doesn’t have any toxic junk in it.
Cork vs. Foam Yoga Blocks
Yoga blocks are typically made of either cork or foam.
Foam is slightly more cushiony, lighter weight, and more portable. Foam blocks are best for restorative poses where you are laying into the block, such as the supported Fish Pose described above.
The main downside of foam blocks is that they are not natural or biodegradable, and may hold sweat or smells.
Cork blocks are stronger, firmer, and more robust. They are a solid foundation for leaning your weight into or standing on in a balancing pose like Half Moon.
Cork blocks are also great for using in strength-building exercises because of their additional weight. Cork is a biodegradable, renewable resource that is naturally mildew and microbially-resistant.
The main downside of cork blocks is that they are heavier and more difficult to transport. They may be too firm for certain poses.
Top 3 Best Yoga Blocks
Best for General Yoga Modifications: Hugger Mugger 4 inch Foam Block

The Hugger Mugger 4 inch foam blocks are one of the most popular yoga blocks used in studios. They are a high quality dense foam that is sustainable, long-lasting, and made of recycled materials.
Pros:
- Lightweight
- Dense, hard foam
- Easy to transport
- Long lasting
- Affordable
- Bevelled edges for extra comfort
Cons:
- May harbor sweat and smells
- Needs to be cleaned after each use
Best for Restorative Poses: Gaiam Essentials Yoga Block (Set of 2)

Gaiam Essentials Yoga blocks are super soft and non-slip foam blocks available in 4 colors. These things last forever and the foam is 50% denser than standard EVA blocks.
Pros:
- Very dense
- Slightly heavier than Hugger Mugger
- Non-slip surface for gripping
- Includes free online yoga class
Cons:
- Not made of sustainable materials
- Needs to be spot cleaned with mild detergent and towel, and air dried
Best for Power Yoga and Balancing Poses: Manduka Cork Yoga Block

Cork is the most sustainable and long-lasting option for a yoga block. Manduka’s cork blocks are special because they are a fine-grain cork that weighs less than the standard coarse-grain cork used in most cork yoga blocks. But the lighter weight does not compromise strength, durability, or comfort! These blocks are cream of the crop when it comes to cork yoga props.
Pros:
- Easy to grip
- Sustainable, biodegradable material
- Firm and sturdy
- Lighter weight than standard coarse-grain cork blocks
- Completely non-toxic material
- Naturally water and microbial-resistance
Cons:
- Too firm for some yogis
- May need to buy Manduka’s botanical cleaner
Yoga Blocks are for Beginner and Advanced Yogis Alike
Have yoga blocks helped in your practice or in your teaching career? We’d love to know.
Namaste!