
Key Takeaway
The Prayer Pose, or Malasana, is a versatile yoga asana that improves hip flexibility, strengthens the pelvic floor, and promotes mental calmness, suitable for all levels of yoga practitioners.
| PRAYER POSE | |
|---|---|
| Alternate name: | Anjali Mudra |
| Difficulty level: | Beginner |
| Pose category: | Kneeling |
| Muscle groups: | Gluteal muscles (buttocks) Adductors (inner thighs) Quadriceps (front of the thighs) Hamstrings (back of the thighs) Calves (back of the lower legs) Abdominals (stomach area) Erector spinae (back) Deltoids (shoulders) Trapezius (upper back) Pectoral muscles (chest) Forearm muscles (forearms) |
| Physical benefits: | Improves flexibility in hips and inner thighs; strengthens the pelvic floor. |
| Therapeutic applications: | Improves flexibility in hips and inner thighs; Relieves lower back pain. |
| Preparatory poses: | Mountain Pose (Tadasana) Downward Facing Dog (Adho Mukha Svanasana) Sun Salutations (Surya Namaskar) |
| Counterposes that follow well: | Forward Bend (Uttanasana) Child’s Pose (Balasana) Easy Pose (Sukhasana) |
| Chakras activated: | Root Chakra (Muladhara) |
| Most helpful prop: |  Yoga block under sitting bones - supports tight hips. See latest price |
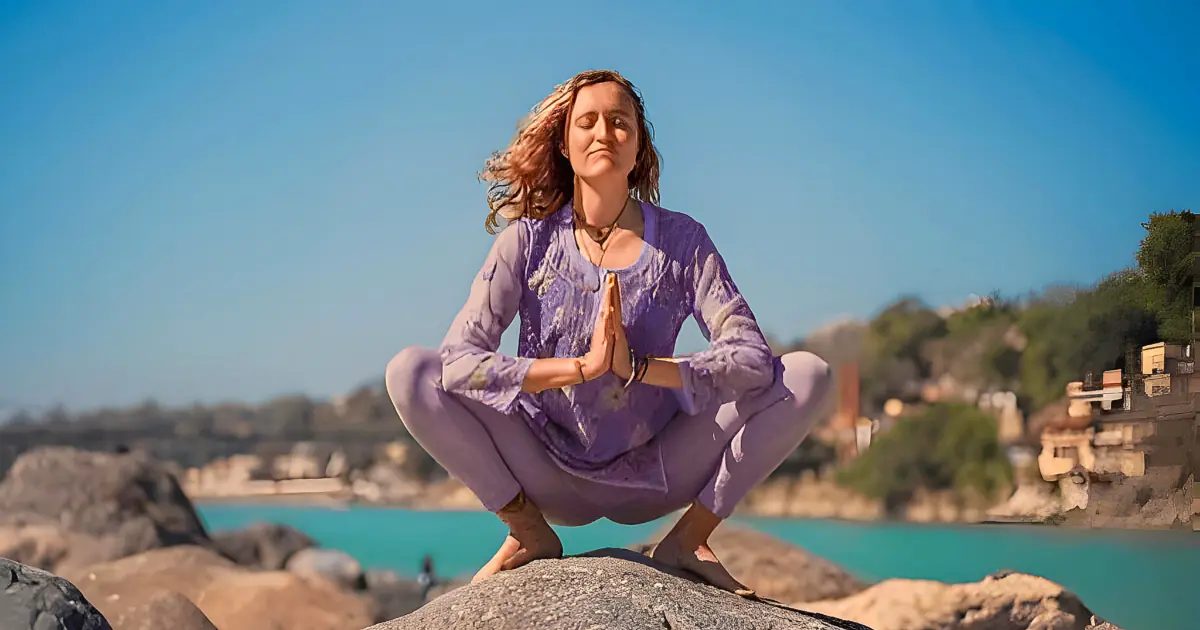
If someone asked you to describe a “prayer pose,” what comes to mind? You might imagine something like the praying hands emoji — palms pressed together in front of the chest, with the head bowed in reverence.
Prayer Pose yoga asana uses this symbolic hand positioning while adding the element of a deep, hip-opening squat. The Prayer Squat is a foundational asana for many different yoga poses and is appropriate for all levels of students.
You’re likely to encounter this asana in various yoga sequences in all styles of yoga, so it’s a great one to add to your library of yoga poses!
Here, we’ll break down Prayer Pose into easy-to-follow steps, give you some helpful tips and modifications, and discuss how this simple asana can significantly benefit your yoga practice.
Get ready to sink into this powerful asana!
Watch our recommended steps for entering, holding, and exiting the pose.
Contents
Get to Know the Asana
A Pose With Many Names
As with many yoga poses, you might hear “Prayer Pose” called by other names, depending on your yoga teachers’ training or background. If your instructor cues any of the following yoga poses, we’re talking about the same thing!:
- Prayer squat
- Yogi or yoga squat
- Garland Pose or Malasana
- Namaskarasana
A necessary clarification for newer students:
- Yoga teachers — myself included — might cue you to “bring your hands together at your heart center.” The “prayer position” of the hands is called Anjali Mudra in Sanskrit and is used in many different yoga poses.
- Note that this differs from Prayer Pose, which uses the whole body. Listen to your instructor cue “Anjali Mudra” to differentiate between the hand positioning and the full yoga posture.

Versatility Throughout Time
While there might not be a documented “first appearance” of this specific pose, it has been passed down through various lineages. It is considered a fundamental asana in traditional yoga systems.
As the traditional library of yoga poses expanded over the past century, the classic Malasana remains a go-to pose for yoga teachers, thanks to its versatility. You might encounter this asana in any yoga sequence, from hip openers to strength-building to arm balances!
No matter what name you call it by, the Prayer Pose (or Malasana) is a valuable asana for students of all levels to master. Ready to start? We’ve got all the steps laid out in the next section!
Detailed Guide to Performing Prayer Pose
Depending on whether you practice this asana as part of a yoga sequence or on its own, there are different methods for getting into and out of the pose. One thing that doesn’t change, however, is proper alignment!

Steps for Entering Prayer Squat
Here’s the most straightforward way to come into Malasana:
- Begin in Mountain Pose, and separate your feet to about a hip-width apart. Turn your toes slightly outward toward the top corners of your yoga mat.
- Bring your hands together at your heart center (Anjali Mudra).
- Slowly bend your knees and let your hips sink toward the ground into a squat position.
- Lift from the inner arches of your feet to create a stable base and prevent your knees from collapsing inward.
- Draw your lower belly in and up to engage your core.
- Press your palms together and create resistance between your arms and legs: squeeze your upper arms with your inner thighs as your elbows press outward.
- As you inhale, reach the crown of your head skyward, feeling the length of your neck and spine.
- Spread your collarbones wide to open your chest.
- Maintain space between your shoulders and your ears.
- Set your gaze on a spot a few feet before you and bring your awareness to your breath.
- Aim to hold your squat position for at least three to five breaths, then exit in your preferred way or as determined by the yoga sequence.
Options for Exiting Prayer Pose
Here are some ideas for building a self-led sequence that includes this asana.
- Return to Mountain Pose: Press down through your heels and exercise your leg and glute strength to rise to stand.
- Release to Forward Bend: Bring your hands to the floor between your feet, turn your toes parallel to the long edges of your mat, and straighten your legs. Fold from your waist, coming into a Forward Bend or Uttanasana.
- Transition to Table Top or Child’s Pose: Reach your hands forward and crawl gradually until you can gently set your knees on your mat. Stay in Table Top or reach the hips backward toward the heels to enter Child’s Pose or Balasana.
- Lower down to your seat: Use as much control as possible to shift your weight behind you and lower your sitting bones down in an easy cross-legged seat (Sukhasana).
Alignment Cues and Common Mistakes
These helpful cues will help students get the most out of this pose and help prevent injury.
- Avoid hunching or rounding your shoulders; think about spreading your collarbones wide apart so your chest stays lifted.
- Keep your neck straight and long by tucking your chin slightly rather than letting it crane forward.
- Create as much length in your spine as possible; reach your sitting bones and the crown of your head in opposite directions.
- Press down through the outer edges of your feet to create stability.
- Keep your shoulders relaxed rather than squeezing them up around your ears.
Breath: a Key Ingredient
In yoga, breathing is a crucial part of any sequence or asana. While you’re holding your Garland Pose, remember to keep your breath flowing. Draw your inhale down into your belly, and keep your exhale long and slow.
Tips for Beginners
Warm-up First
Before you start with the Prayer Pose, it’s essential to warm up. Warming up your body increases blood flow and loosens muscles, helping you get into the squat position easier.
- While lying on your back, draw one knee toward your chest and make a few circles with your foot. Then, switch to the other leg. This will help your hip, knee, and ankle joints, which are all in deep flexion in Prayer Pose.
- Downward Facing Dog will stretch the backs of your ankles, allowing you to get your heels closer to the floor in your squat.
- A few Sun Salutations will get your blood flowing and warm you up efficiently.
Take Your Time
As a beginner, don’t rush. Start slow. Initially, aim to hold the Prayer Pose for about 30 seconds — between 3 to 5 complete breath cycles, depending on the pacing of your breathing.
Gradually increase this time as you become more comfortable. And remember, yoga is not a race! It’s more about your experience of each asana.
Remember, every student starts somewhere! Keep practicing consistently, be patient with yourself, and you’ll soon master this beneficial yoga position!

Mastering Prayer Pose: Challenges and Solutions
The Balancing Act
The deep squat position of this asana can be a real challenge for some folks. Many struggle with balance issues, finding it hard to keep their hips over their heels. If you’re working on developing your balance, here are some helpful tips:
- Focus your gaze on an unmoving spot on the ground before you. Maintaining your drishti, the Sanskrit word for focal point, will help you feel more stable and build up your concentration.
- Practice this asana using a wall for support. As you come into the pose, lean your back against the wall until you develop the core strength to keep your torso balanced over your lower half.
Props to the Rescue
Yoga props can be a massive help in making the Prayer Pose accessible for all students. If you experience these common challenges with this asana, try the recommended modifications and see the difference yourself!
- Can’t get your heels down?: Place a folded blanket or towel under your heels to accommodate tight Achilles tendons.
- Are your hips too tight?: Place one or two yoga blocks horizontally beneath your sitting bones — you’re essentially bringing the floor up to you, making it easier to sink down into the pose.
- Shoulders are rounding or pitching forward: Loop a yoga strap across your lower back, around the fronts of your ankles, which will help lift your chest.
It’s all about tweaking the pose in a way that works for you. You can even use more than one modification at a time!
You can find all the gear and props necessary via Lululemon — thick and grippy mats, towels, blocks, and straps — everything needed to set yourself up for success!
Consistency and Patience Pay Off
Mastering this pose doesn’t happen overnight. Learning new things can be frustrating sometimes – we’ve all been there. But remember, Rome wasn’t built in a day! Be kind to yourself during this phase, and let patience be your guide.
Prayer Pose Variations
Twist Variation
This variation is a cool twist on the traditional Prayer pose that adds an extra stretch to your chest and shoulders.
- Start in Mountain Pose and follow the above steps to come into Malasana.
- Open your arms, bringing your right hand down just in front of your right foot, and reach your left arm diagonally up toward the sky.
- Turn your gaze toward your left fingertips and hold for a breath or two, then return to your center with your palms pressing together.
- Repeat on the other side, opening your arms to place your left hand down as your right fingertips stretch skyward.
Standing Prayer Pose Variation
Another variation of the Prayer Pose you might come across is a simple standing version. Yoga teachers might also refer to this as Namaste Pose or its Sanskrit name, Pranamasana.
Stand tall in Mountain Pose and bring your palms together at your heart center in Anjali Mudra.
Despite its simplicity, this variation carries a lot of intention. When you bring your palms together, you connect the two sides of your body and deepen your awareness of your physical experience.
Numerous Benefits of Prayer Pose
Prayer Pose, or Malasana as many yoga teachers call it, is a versatile asana with numerous positive effects.
Physical Health Perks Unlocked
Incorporating this deep squatting asana into your routine can do wonders for your physical health. Here are just a few examples:
- Improves flexibility in hips and inner thighs
- Opens the hips, improving mobility
- Improves posture and lengthens the spine
- Relieves lower back pain
- Strengthens the pelvic floor
Mental Health Boosters
The benefits aren’t just physical, though! This pose also brings mental health advantages. Here’s how:
- Reduces stress through deep breathing and tension release
- Enhances concentration and boosts awareness while balancing
- Calms the mind as you hold your gaze steady
Energetic Effects
But wait, there’s more! This simple yet powerful asana can help you feel more grounded by stimulating the root chakra. In practicing this pose, you bring yourself close to the earth and turn your awareness inward, cultivating a strong connection with your inner self.
Advancing your Asanas
Incorporating Malasana into daily yoga sequences is where you’ll see long-term benefits. As you progress in your practice, you’ll likely use this pose to warm up for more advanced asanas such as Crow, Lizard, Dragonfly, and other yoga poses that require significant hip flexibility.

Exercise Your Hip Mobility
The Prayer Pose is an excellent addition to your daily routine with its simplicity and enduring positive effects. Over time, you’ll notice improvements not only on your yoga mat but also in everyday tasks that require hip mobility.
You might not realize it, but many daily activities require adequate hip mobility. For instance:
- Walking, sitting, and standing up from a chair
- Getting into and out of a car
- Housework and gardening
- Sitting cross-legged
- Playing with children
I once had a student tell me she could help her children build a snowman thanks to holding a deep squat position for upwards of a minute! As you can see, this pose has much to offer.
Incorporating Prayer Pose into Your Yoga Sequences
As you continue to practice Prayer Pose regularly, remember that patience and consistency are vital to overcoming challenges. Take it day by day and respect your body’s limits.
But don’t hesitate to explore variations of the pose as well – this adds variety and allows you to challenge yourself further, adding to the value of the exercise. Stick with it, and the benefits will be undeniable!

FAQ 1: What are some common mistakes beginners make when performing the Prayer Pose?
Beginners often rush into the pose without properly aligning their bodies or focusing on their breath. Move with mindful focus to avoid putting unnecessary strain on your joints, and remember to maintain steady breathing.
FAQ 2: How does regular practice of this asana benefit my overall health?
Regularly practicing Prayer Pose in your yoga sequences helps improve postural alignment, relieves low back pain, improves flexibility and mobility, promotes calmness, reduces stress levels, and fosters a sense of grounding, which contributes positively towards mental health.
FAQ 3: Are variations of this pose appropriate for beginners?
Absolutely! Variations can add an element of challenge and fun. Just be sure you’re comfortable with the basic form of the pose before adding a variation into the mix.
FAQ 4: What are the contraindications for Prayer Pose?
As with any exercise, improper technique may lead to discomfort or injury. In this case, you should skip this pose if you are recovering from an injury to the knee or hip or if you experience Sciatica.