
As a yoga teacher (and entrepreneur) myself, I’ve witnessed how important it is for yoga teachers to understand some basic business and marketing skills.
But where do I start? I didn’t go to business school and I’m certainly not tech savvy…!
Luckily, you don’t have to tackle this challenge alone! There are many great resources out there waiting for you.
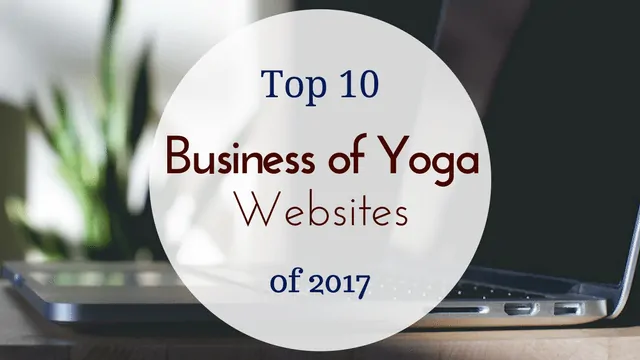
For all the yogis trying to make a sustainable career doing what you love, today we share with you the Top 10 Yoga Websites. Each of these sites provides valuable resources while marrying yoga and business in their own unique way.

Pin me first, then keep reading 🙂
Here we go, in no particular order…
1) M.B.Om Mastering the Business of Yoga

We were lucky enough to be interviewed by Amanda Kingsmith, founder of M.B.Om on her podcast all about mastering the business of yoga. A yoga teacher and business graduate herself, she set out on a mission to bridge the gap between yoga and business by interviewing yoga teachers who have made a successful business in the industry.
She leads interviews with teachers to help others understand and learn all things related to teaching yoga; whether that’s the business of yoga, the realities of being a yoga teacher and anything else on the topic.
2) The Yogipreneur (now: RachealCook.com)

2018 update: Racheal shut down TheYogipreneur.com (sadly) and now is focused on RachealCook.com. Her content is top notch but not 100% focused on the yoga/wellness space anymore.
Racheal Cook was the founder and mastermind behind The Yogipreneur. Yoga was the catalyst to a major shift in her life when she realized first hand it’s life changing benefits. After beginning a consistent practice and completing her first teacher training, she decided to walk away from her 9-5 consulting lifestyle that was hurting her more than helping her.
Using her valuable business experience and MBA, she started consulting behind the scenes to assist her late teacher, Arlene Bjork, grow her yoga community.
This experience showed her she wanted to continue to help yogi entrepreneurs build profitable businesses. She has plentiful resources to help teachers follow their dreams of building a successful yoga centric business.
3) Love Teaching Yoga

The founder, Michelle, felt inclined to start Love Teaching Yoga as a place for yoga teachers continue their journey on and off the mat. Yoga impacted her life in a major way and she became a business owner by opening up a donation-based yoga studio in San Jose, California.
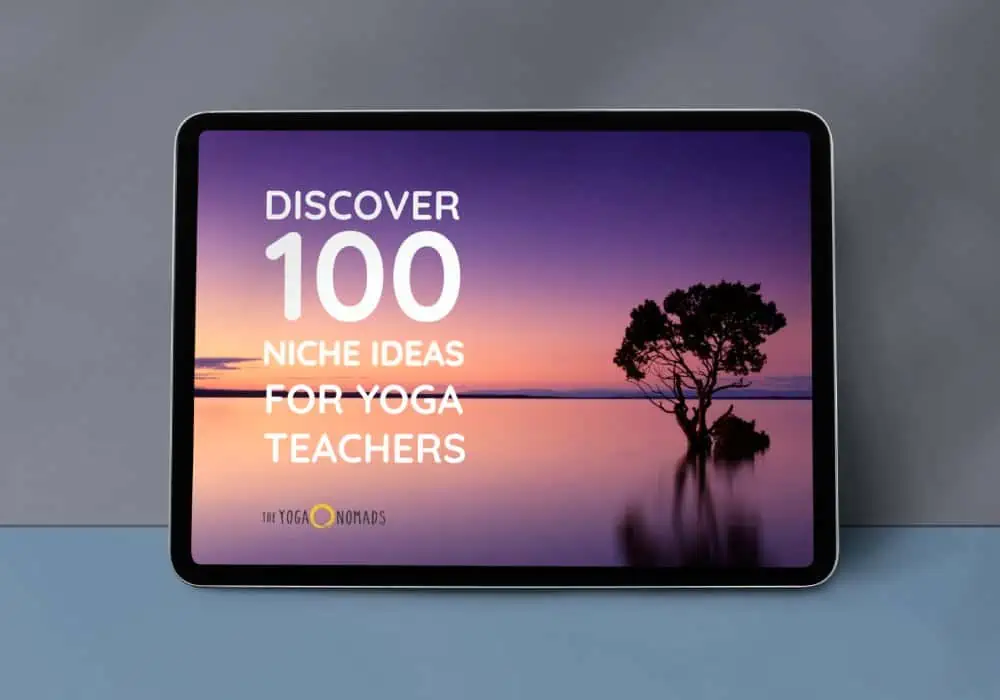
Free download: 100 Niche Ideas for Yoga Teachers
Download nowAs an extension to continue to support yoga teachers, Love Teaching Yoga was soon after conceived to provide an environment for teachers to continue their exploration of yoga. It’s a place to grow, learn and support other teachers on their journey. This online platform reaches teachers around the globe and has valuable resources that are accessible to all!
Michelle also offers a premium tax guide for yoga teachers. It’s not easy navigating the tax deductions and liabilities as a Yoga Teacher. Check out the guide here.
4) The Smart Yoga Teacher

Melissa, the one who started The Smart Yoga Teacher, is just that – the smart teacher! She has experience as a yoga teacher, studio owner, retreat leader, blogging and helping others start their own yoga business. Her excellent combination of experience lends itself well to others. She she is passionate about helping you make it in the industry – in whatever way that means for you!
The site is full of goodies via the blog, podcast and her recommended resources to get you started and inspired. You can also ask to join her closed Facebook group and join other yoga professionals in an engaging discussion about yoga and business.
5) Yoga Crush

Talk about yoga crush, I definitely have one on Suzanne! 🙂 Her writing skills alone will have you swooning. After leaving her 9-5 job to dive deep into being a full time yogi, she’s done it all, and wants to share her experience with you!
Her podcasts are among my favorite on the subject of yoga and her guide titled the 4 Pillars will leave you feeling more motivated than ever to crush your future career as a full time yogi.
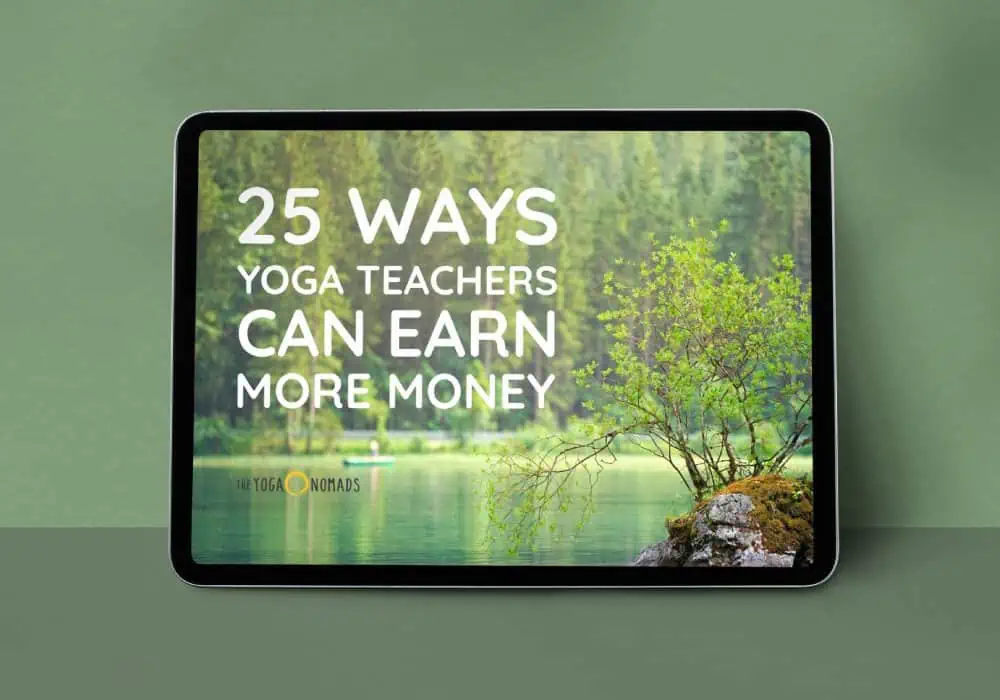
Free download: 25 Ways Yoga Teachers can Earn More Money
Download now6) Yoni Speaks

Lynann has 25 years of professional experience that integrates well with yoga professionals looking to expand their business to the next level. Her education and experience in business, marketing strategy, and yoga management combined with her strong desire to help yoga teachers succeed is unmatched.
Integrity is her highest value while leading others on a business path that is conscious and mindful.
Yoni Speaks provides resources wherever you find yourself on your yoga teaching journey. Whether you’re new or seasoned, there are resources to help catapult you forward in your yoga career!
7) The Thriving Yogi

Who wouldn’t want yogi business coaching? Claudia from The Thriving Yogi provides a service for coaching you through how to run a successful business teaching private yoga classes. In addition, there are plentiful resources on her site to help support you as you grow your yoga business.
If you’re teaching or a studio owner, this site will help you navigate the world of marketing yourself in the yoga industry.
8) Yoga Teacher Grad School


Free Course: Create a Yoga Website You'll Love
(7 steps)
Enroll for Free
Julian Walker has been in the business of teaching yoga for more than two decades. He is a living, breathing example of someone who has created a thriving yoga business all on his own. His depth of experience serves his clients well as his site Yoga Teacher Grad School is the place teachers come to live out their dreams.
Julian has created a step-by-step process to create and grow a successful yoga business that empowers yoga teachers to take charge of their lives. Yoga Teacher Grad School has resources and tools to create your business in addition to a Members Only portal with information specific to his clients. He’s also created a Facebook group for teachers to find support on their journey.
9) Wellpreneur

The founder of Wellpreneur, Amanda, fully understands the breadth and depth of marketing in a digital world. After spending 12 years in marketing and technology sales she left to start her own business.
Since then she’s found success in running online businesses. It started with her running her own beauty blog that surpassed 30k visitors per month and over 8k email subscribers! She has committed her career to helping other wellness entrepreneurs to grow their business and presence online.
With a world that’s expanding more and more online, we could use more people like Amanda dedicated to our success with building online businesses!
10) Yoga Journal Business of Yoga

Justin and Karen are dedicated to help yoga teachers and the conscious community build thriving yoga careers around the world. They specialize in leadership, marketing and business coaching to assist their clients in finding success in their entrepreneurship journey.
Learn to Create a Website for Your Yoga Business
Enroll for FreeTheir backgrounds include leadership expert, yoga teacher, life coach and public speaking which translates well when helping yogis get their business up and running.
Business of Yoga offers tons of free videos to help motivate and inspire you. They also offer The Yoga Business Bootcamp, a 3 day event that jumpstarts your yoga career!
Love,
Anne
PS: Did you enjoy this article? Pin me! 


Hi Anne,
This is one of the most interesting blogs ever that I have come across in several days. All these Yoga Websites have astonishing stories to tell us.
Thank you!
Great compilation of sites!
Thank you!
Yoga is a 5,000 year old living tradition that combines physical and mental disciplines or practices, philosophy, spiritual studies, scriptures and precepts. This is a wonderful article. Thank you! for sharing such a great post.
many of these sites are down
Gotta say I’m surprised to not see YogiApproved.com on this list? I just saw them listed on Top 10 Global Yoga Resources. Personally every time I search anything yoga-related, I find one of their articles which are super informative. Please consider adding my favorite yoga resource to this list! Namaste, Anna R.