
Key Takeaway
Happy Baby Pose (Ananda Balasana) is a restorative yoga posture that stretches the groin, relieves back tension, and opens the sacral and root chakras, promoting relaxation and improved sleep.
| HAPPY BABY POSE | |
|---|---|
| Alternate name: | Ananda Balasana |
| Difficulty level: | Beginner |
| Pose category: | Restorative |
| Muscle groups: | Adductor group (inner thighs) Gluteal muscles (hips) Hamstrings (back of the thighs) Pelvic floor muscles Erector spinae (lower back) |
| Physical benefits: | Increases hip flexibility, massages lower back, relieves stress, improves sleep. |
| Therapeutic applications: | Hip pain relief, stress reduction. |
| Preparatory poses: | Child's Pose (Balasana) Wide Legged Forward Fold (Prasarita Padottanasana) |
| Counterposes that follow well: | Pigeon Pose (Kapotasana) Yogi Squat (Malasana) Low Lunge |
| Chakras activated: | Sacral Chakra (Swadisthana) Root Chakra (Muladhara) |
| Most helpful prop: |  Yoga strap - Extends reach, reduces hip tightness. See latest price |
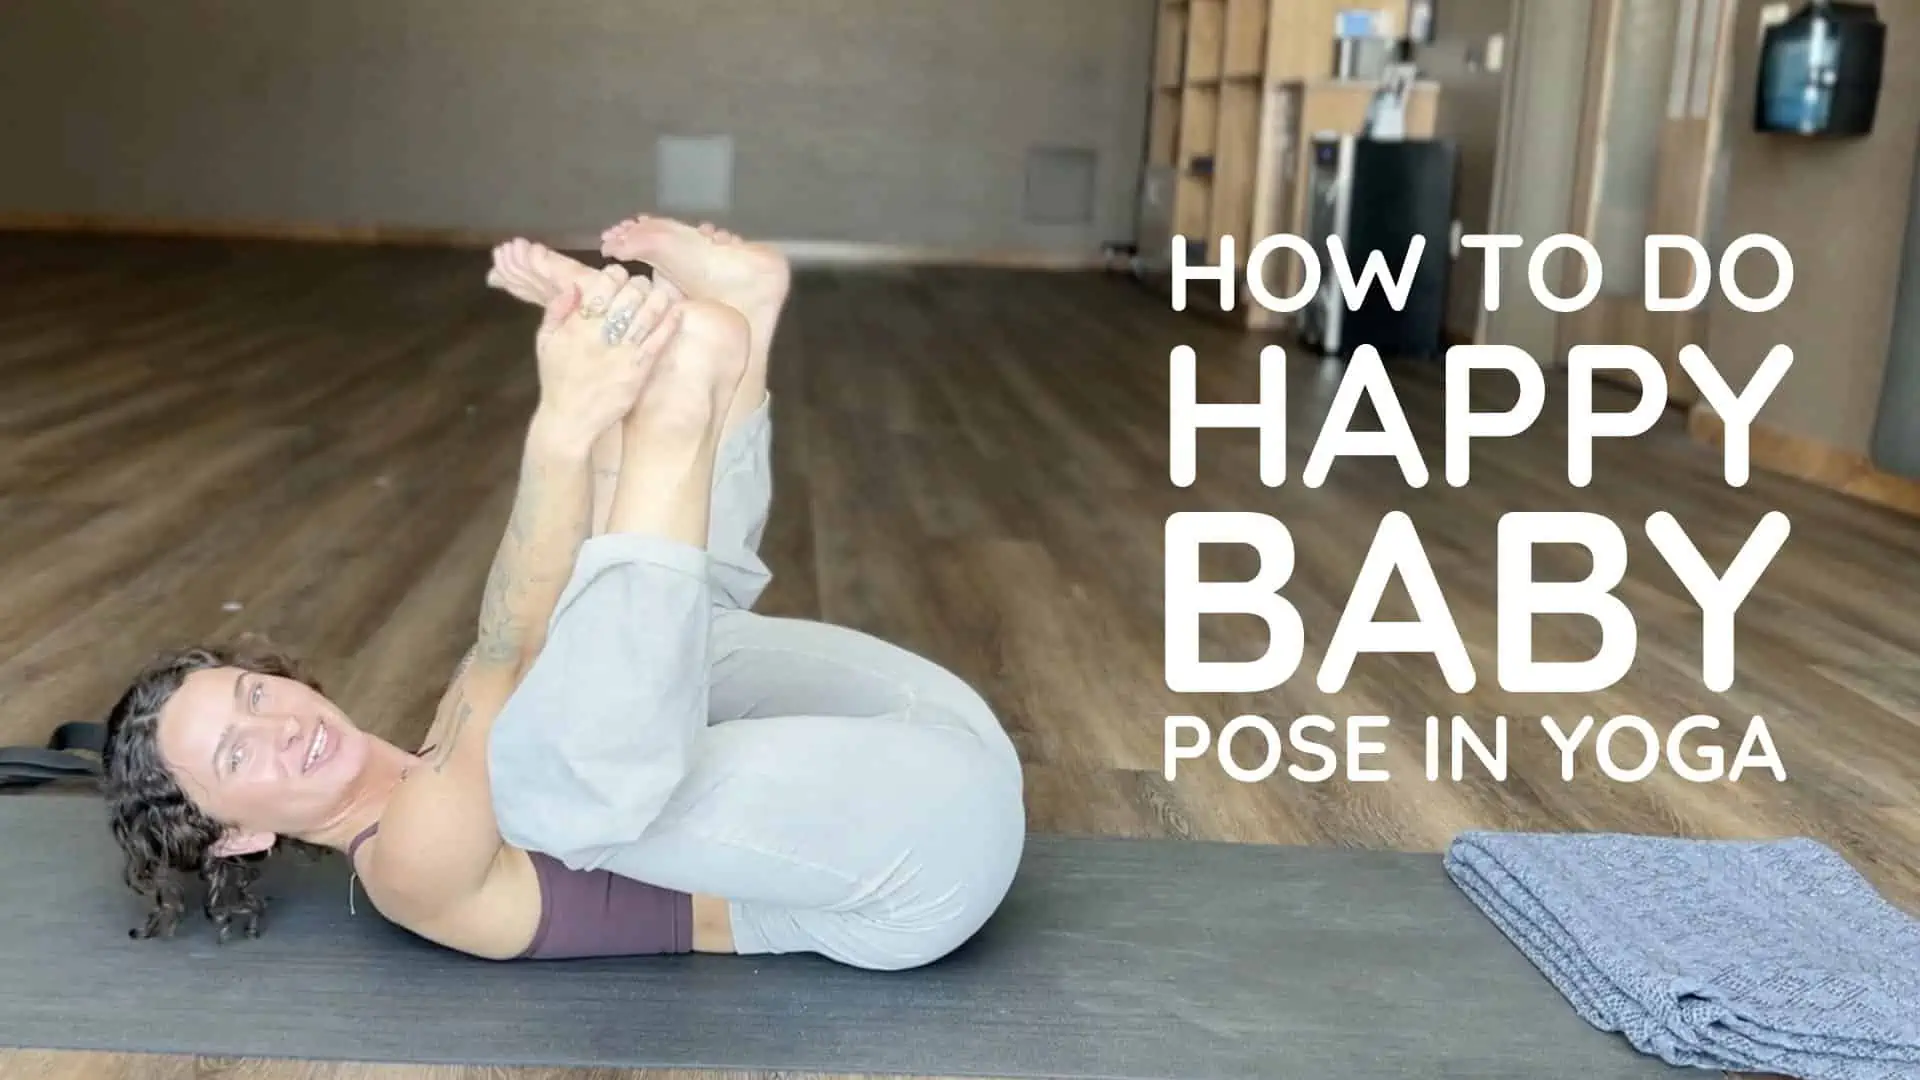
When you need a free back massage or a gentle hip release, Happy Baby Pose is the most enjoyable (and easy) asana you can do. Inspired by the carefree joy of a baby with their feet in their hands, Ananda Balasana stretches the groin and relieves tension in the back while opening the sacral and root chakras. It is perfect for beginning and ending yoga flows or for practicing before bed.
Happy Baby Pose is a restorative pose, which means it relaxes the nervous system and gently supports the body in healing. It doesn’t require muscle strengthening or deep stretching of other postures.
Let’s dig into everything you need to know about practicing and teaching Happy Baby Pose, including special tips and modifications to find more comfort in this hip-opening asana.
Prefer video? Here’s ours on how to do a happy baby properly:
Contents
Pose Benefits
Before the stress of adulthood and the tension of a sedentary lifestyle take hold, babies seem to have uninhibited flexibility. Their soft bones and pure minds are completely carefree to roll around, relax, and giggle. This pose helps us channel our inner child by laying on your back and bringing your feet above your head.
Happy Baby Pose can help you:
- Open tight hips: Happy Baby Pose clearly stretches your inner groin, inner thighs, and hips (don’t forget your non see through leggings!) For very tight hips, you may want to use a yoga strap.
- Massage your lower back: Once you find a comfortable Happy Baby position, you can gently rock back and forth to massage your low back. Just be sure you have a thick yoga mat to cushion your spine.
- Relieve stress: Most yoga poses can help you de-stress, but this hip-opener is particularly helpful for letting go of stagnant energy, anxiety, or toxic emotions. Traditional yogic philosophy says that the hips are where we store stressful memories and emotional tension. Ground yourself in the present and return to a stress-free youth by hanging out in Happy Baby.
- Warm up for more intense yoga poses: Happy Baby is an excellent way to prepare for deeper hip opener poses like Tree Pose, Pigeon Pose, Yogi Squat, or Frog Pose.
- Relax after exercise: If your inner thighs are sore from a challenging yoga flow or weightlifting session, the restorative nature of Happy Baby encourages your tissues to regenerate, stretch, and relax.
- Improve your sleep: Ananda Balasana is ideal for practicing before bed. Lifting your feet above your heart and stretching your groin
- Strengthen and stretch your pelvic floor: This asana opens up your pelvic region. As you practice diaphragmatic breathing and relax your tailbone to the floor, it adjusts the angle of your pelvis for better posture, bladder control, and targeting of the sacral chakra.
Step-by-Step Instructions
Like any yoga posture, alignment is key to reaping all the juicy benefits of Ananda Balasana. Here’s a quick step-by-step guide on how to do Happy Baby the right way:
- Lay flat on your back on a supportive yoga mat or thick blanket.
- On an inhale, draw your knees toward your chest. Hold your knees for a moment as you deeply exhale.
- Bring your hands to grab the outsides of your feet, or wrap your peace fingers around your big toes. You can also use a strap, as described below.
- On an inhale, open your knees out to the sides so they are slightly wider than your torso.
- Then, exhale and begin pulling your knees wider to open your groin. Use the leverage of your feet to pull your knees back and down toward your armpits.
- Make sure your ankles are directly over your knees and your shins are perpendicular to the floor.
- Ensure that your tailbone stays on the mat. Lightly engage your core, and imagine your belly button reaching back toward your spine.
- Create some resistance by gently pushing your feet up into your hands while pulling downward with your palms.
- Slowly rock side to side as you release your spine flat to the mat and enjoy a nice low back massage.
- Hold for 5 to 10 breaths or longer, then slowly release the feet back to the floor.
Tips for Mastering the Pose
This asana can be somewhat challenging for anyone with a lot of tension in their back or hips. Use these pro tips to relax into the pose.
Tip #1: Keep your shoulders on the mat

It’s OK to lift your torso a bit so you can reach the bottoms of your feet. But once you’re holding on, it’s rough on your spine to keep your shoulders raised off the mat. Roll your shoulder blades back and down, then let them relax on the mat.
If you can’t settle your shoulders down, try adjusting your hand grip to your ankles or shins, or use a yoga strap.
Tip #2: Relax your neck and head

Beginners often want to look forward at what they’re doing with their legs, but this can quickly lead to a kink in your neck (ow!) To avoid neck injury or strain, let your head relax on the floor. Slightly tuck your chin to elongate your neck vertebrate. Then, focus your gaze diagonally up toward the ceiling.
If it’s hard to keep your head grounded, try placing a rolled blanket under the base of your neck.
Tip #3: Chill for a minute
Remember, Happy Baby Pose is supposed to be restorative. That means you can hold it for a longer time than other postures. You don’t have to do much work! Your only job is to calm down, breathe deeply, and feel those inner thighs stretch open.
The longer you chill out and (optionally) rock back & forth, the more benefits you’ll get. Plus, the pose gets easier after a minute or two.
Tip #4: Try to anchor your tailbone down

It’s common to roll your butt up while you reach for your feet. However, once your knees are bent and in position, your spine should be flattening to the floor. Imagine your tailbone reaching down toward the mat. This will feel relieving for your sacroiliac joint (a common source of low back pain) and help adjust your pelvic tilt. Your sacrum is at the base of your lumbar spine and is directly connected to your pelvis.
Tip #5: For a deeper stretch, create resistance with your hands
Sometimes gravity isn’t enough. If it feels like your groin refuses to stretch open, creating resistance can deepen your stretch. Imagine your feet pressing into your hands and your hands pulling down to the floor. This will angle your knees toward your armpits while your legs splay farther out to each side.
Common Mistakes
Happy Baby is supposed to be comfortable enough that you can hang out in the pose for at least a few minutes or longer. If you feel pain or extreme discomfort, it’s probably a sign that your alignment is out of wack. Remember, happy babies, don’t force things!
Common Mistake #1: Chin lifting upward
No yoga pose should feel painful for your neck or spine. If your neck vertebrate feels compressed, you may need to check the position of your chin.
How to Fix It: On an exhale, tuck your chin slightly down toward your chest and allow the back of your neck to flatten to the mat. Adjust your gaze to the upper corner of the room rather than looking straight up above you.
Common Mistake #2: Closed chest and lifted shoulders
It’s common to lift the shoulders as you reach forward for your feet. If you can’t get them back down, you may need to integrate a prop or adjust your grip to the ankles or shins.
When your chest is expansive and open in Ananda Balasana, it allows your knees to come closer to your body for a deeper stretch. But if your shoulders are lifted, the closed chest position prevents your spine from fully flattening to the mat.
How to Fix It: Bend your knees and elbows more so your shoulders remain on the floor. If needed, use a yoga strap to extend your grip so you don’t feel “hunched” in a ball.
For the full expression of Happy Baby, you want to be sure that your shoulders are relaxed, your heart is open, and your back is flat on the floor.
Variations
Unless you’re uber-flexible, it’s unrealistic to dive into the full expression of Happy Baby without any preparation. These variations act as comfort-increasing stepping stones to help you gently push yourself toward a full hip opening.
Strap-Assisted Happy Baby

The most beginner-friendly modification for Happy Baby involves using a yoga strap or belt to reach your feet. This essentially extends your arm length to account for any tightness in your hamstrings or hips. To use a strap:
- Lie flat on your back with two yoga straps nearby. Slightly tuck your chin and bend your knees so the soles of your feet face the sky.
- Wrap the strap around the bottom of one foot and let it dangle while you adjust the other strap on the other foot.
- Create a light tension on the straps by pulling downward as you flatten back down to the floor and relax your neck.
- Move your grip on the strap down or up, depending on your flexibility. Then slowly begin to bend your knees deeper and pull them toward your chest.
Half-Happy Baby (Single Leg)
When you want to focus on one hip at a time, you can try a half-happy baby. This involves extending one leg to the floor while keeping the other leg bent.
- Begin laying flat on your back. Anchor your left heel to the floor and bend up your right knee.
- Reach the bottom of your right foot to the ceiling and slowly begin bending your knee toward your armpit.
- Grasp the outside of your foot with your right hand and breathe as you bend it toward you.
- Keep your extended leg lightly engaged with the foot flexed to maintain a solid foundation.
- Switch and try the other side.
Restorative Bolster Variation
If you have sensitive joints or bony parts, it helps to support your body with extra padding. For this variation of Happy Baby, you can place a bolster underneath your hips or place a blanket under your neck. Allow yourself to fully release into the cushion of the bolster. Either way, you should still aim to flatten your back as much as possible.
Safety and Precautions
Happy Baby Pose is not recommended for anyone with a neck or knee injury. It is also not recommended for pregnant women after the first trimester. Check with your doctor before practicing Happy Baby and back out of the pose if you feel any pain or extreme discomfort.
Teaching the Pose
As an instructor, you want to make sure your students get the most restorative enjoyment out of this pose as possible. Use these cues to aid anyone who looks uncomfortable:
- If a student cannot reach their feet, encourage them to grab the outer edge of their ankles, calves, or shins. You can also offer them a yoga strap for each foot.
- Cue students to imagine their knees moving down toward their triceps and armpits.
- If rocking back and forth is too harsh on your lower back and sacrum, place a folded blanket or towel underneath the lower spine.
- If you notice students with lifted necks, remind them to relax their heads so the neck and spine are as flat as possible on the mat.
- Use Happy Baby Pose to prepare for Malasana (Yogi Squat) or Crow Pose.
Preparatory Poses
Ananda Balasana is undeniably a challenge for the groin. It’s nice to warm up your legs a little bit before diving in. Try:
- Child’s Pose (Balasana)
- Wide-Legged Forward Fold (Prasarita Padottanasana)
- Sun Salutations
Counter Poses
Incorporating Happy Baby Pose into a yoga flow is fairly easy because it gently stretches the muscles that you work so hard on during a standing sequence. It can be practiced both before and after more challenging hip-openers, like:

Happy Baby FAQs
What is the happy baby pose good for?
Ananda Balasana is one of the best yoga poses to release tension in your hips and low back. It is a restorative position that opens up your groin, improves sleep, strengthens the pelvic floor, reduces anxiety, and gently massages your back as you roll side to side.
What chakra is happy baby pose?
Happy Baby Pose opens and balances the Sacral Chakra (Swadisthana, located just below the navel) as well as the Root Chakra (Muladhara, located in the pelvic floor). These charkas are both associated with grounding, stability, intimacy, and creativity.
Namaste!