
Key Takeaway
Eagle Pose (Garudasana) enhances full-body strength, flexibility, and balance, with variations available to progress towards its full expression.
| EAGLE POSE | |
|---|---|
| Alternate name: | Garudasana |
| Difficulty level: | Intermediate |
| Pose category: | Balance Pose |
| Muscle groups: | Quadriceps (legs) Glutes (hips) Adductors (inner thighs) Calves (lower legs) Core (abdominals) Deltoids (shoulders) Trapezius (upper back) Forearms (arms) Wrist extensors and flexors (wrists) Ankle stabilizers (ankles) |
| Physical benefits: | Greater flexibility in shoulders, calves, thighs, hips, and upper back; stronger feet, ankles, calves, glutes, core, shoulders, arms, and back; improved balance and body awareness. |
| Therapeutic applications: | Relief from upper back and shoulder pain, improved balance and body awareness. |
| Preparatory poses: | Chair Pose (Utkatasana) Cow Face Pose (Gomukhasana) Bow Pose (Dhanurasana) |
| Counterposes that follow well: | Downward Facing Dog (Adho Mukha Svanasana) Reclining Bound Angle Pose (Supta Baddha Konasana) |
| Chakras activated: | Root Chakra (Muladhara) Sacral Chakra (Svadhishthana) Solar Plexus Chakra (Manipura) Heart Chakra (Anahata) Throat Chakra (Vishuddha) Third Eye Chakra (Ajna) Crown Chakra (Sahasrara) |
| Most helpful prop: |  in Yoga—Proper Form, Variations, and Common Mistakes eagle pose 1") Block under dangling foot - aids balance, supports toe. See latest price |
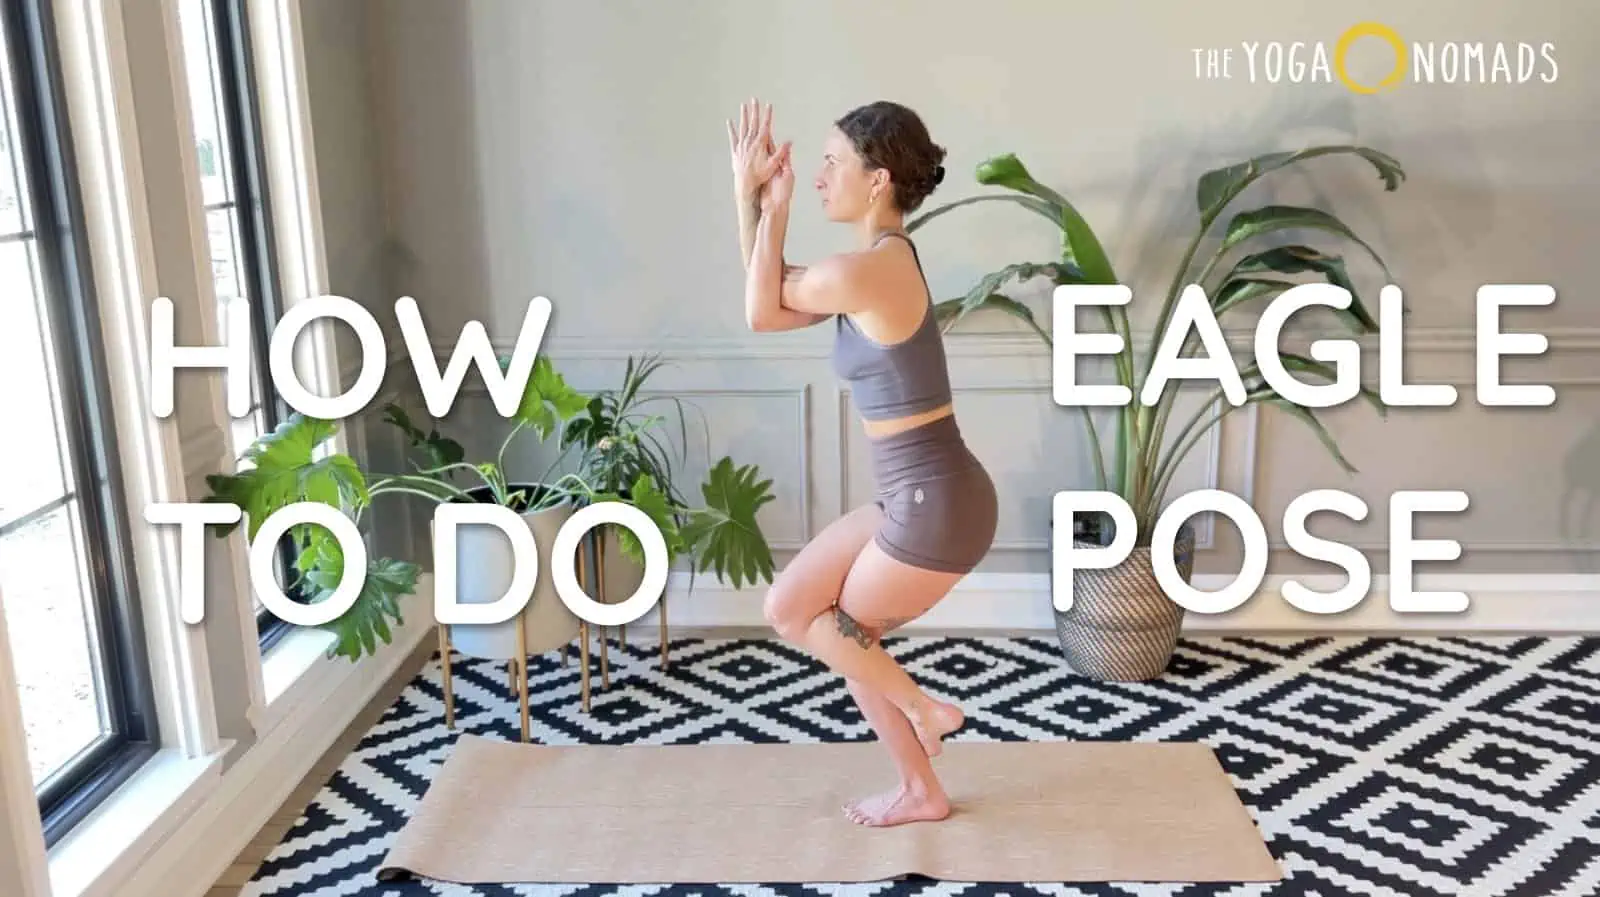
Want to build intense focus, full-body strength and flexibility, plus epic balance? Don’t skip Eagle Pose! Garudasana is the Sanskrit word for “majestic bird pose.” Inspired by the concentration and strength of this iconic bird, Eagle Pose targets nearly every part of your body, helping to build muscle, improve flexibility, and challenge your balance.
Eagle Pose can feel a bit like a human knot. But this challenging balance pose provides a major confidence boost and offers plenty of stepping-stone variations to try on the path to full expression.
Let’s dig into everything you need to know about Eagle Pose, plus some simple tips to master it!
Prefer video? Here’s our complete tutorial on how to do Eagle Pose:
Contents
Pose Benefits
Eagle Pose is a rare asana that targets every part of your body. You will wobble, shake, stretch, elongate, and squeeze over 20 major muscles! The benefits of Eagle Pose include:
- Greater flexibility in the shoulders, calves, thighs, outer hips, and upper back
- Relief from upper back and shoulder pain
- Stronger feet, ankles, calves, glutes, core, shoulders, arms, and back
- Lower body strengthening
- Incredible balance and body awareness
- Improved confidence
- Improved focus and concentration
Step-by-Step Instructions
Eagle Pose can look pretty intimidating and uncomfortable, but when you focus on each portion of the pose, you will find that they eventually come together like puzzle pieces. Build the pose on a solid foundation at your feet and then work your way upwards to your legs, core, arms, shoulders, and the final integration of
- Begin in Mountain Pose with your feet together and your knee slightly bent. Root into the ground with all four corners of the feet. Engage the quads and glutes as you slightly squat down.
- Find a drishti (focus point) a few feet in front of you and keep your gaze there for the entirety of the pose.
- Shift your weight into your left foot and inhale as you bring your right leg over your left. Squeeze the right leg onto the top of your left thigh. Try to hook your right foot behind your left ankle.
- If you can’t hook it, simply press the top of your foot into the outside of your calf. You can also try squatting deeper to allow the ankle more space to rotate and hook the toes behind your left calf. If you still can’t get it, simply cross the right leg over your left and prop your right toe on a block (variation below).
- Next, stabilize your core. Re-orient your pelvis to ensure that both hips are in line. It is common for the right hip to be lifted, so focus on bringing that hip down and engaging the lower core. If desired, put your hands on your hip creases and use them as leverage to align the hips.
- Now move to your Eagle arms. Optionally, it can be helpful to start with your arms before moving into the balancing portion. Bring both arms bent out in front of you like goalposts. Cross your left elbow over your right. Your left elbow will be sitting in the crease of your right arm and your hands will look like an “X.”
- Rotate your wrists to bring the palms of your hands together. If you don’t have wrist flexibility, you can press the backs of your hands together.
- Now exhale as you squeeze everything together and sit back as if going into a Chair Pose. As you fully flex all the muscles in your legs, keep your abdominals active and your spine in a straight line as much as possible. The body should be upright, not hunched over.
- Slowly raise your elbows to shoulder height and feel a deep stretch across the back of your shoulder blades. Inhale, lengthen your spine and continue to look forward at a fixed point ahead.
- Breathe deeply for 5 to 10 breaths. It is natural to wobble and re-stabilize as you find your balance. Use the resistance of all your muscles squeezing together to hold you upright.
- To release, squat down deeper then uncross the arms and legs. Repeat on the other side.
Tips for Mastering the Pose
If you’re struggling with Eagle Pose, you are not alone. This posture is so challenging for beginners that many people avoid it altogether. A lot is going on here! Use these simple tips to build the pose little by little and you will be a master of focus and balance in no time.
Tip #1: Bend your knees and squeeze your inner thighs
 in Yoga—Proper Form, Variations, and Common Mistakes eagle pose 2")
The Eagle is nothing without strong legs. This posture is not about flying, but about balancing on a single limb. If you are trying to practice Eagle Pose with straight or unengaged legs, you’re already setting yourself up to fall.
The secret to a strong Eagle base is in the knees and thighs. Before entering the posture, be sure that you have bent your knees as if moving into a Chair Pose. You don’t want to fully squat down, but you should have a significant bend that activates your quads.
When you cross one leg over the other, squeeze your thighs together as tightly as possible. This will “lock in” the bind and help you stabilize as you focus on the upper body.
Tip #2: Cross opposite arms and legs
 in Yoga—Proper Form, Variations, and Common Mistakes eagle pose 3")
The knot-like twists of your arms and legs can make Eagle extremely confusing. Sometimes Eagle Pose is taught with the same arm as a leg on top (meaning, if the right leg is on top, the right arm is on top), but that can make balancing harder.
If you feel like you’re toppling over to one side, create a counterbalance by keeping your arms and legs opposite. This means, that if you are crossing the right leg on top, you should cross the left arm over top. If the left leg is on top, then the right arm should be on top. This creates resistance and equal pulls from both directions, creating more stability.
Tip #3: Keep your pelvis aligned
Like all balancing poses, Eagle Pose requires that you keep your body aligned so you don’t topple over. Focus on balancing the pelvis so your hips stay still in one central plane. One hip bone should not appear taller than the other. You may need to draw the hip of the lifted leg back down to match the hip of the standing leg.
Tip #4: Keep your torso upright
 in Yoga—Proper Form, Variations, and Common Mistakes eagle pose 4")
If you are having trouble balancing, squeeze your abs and keep your torso as upright as possible. It’s natural to lean forward a little bit, but it is far easier to balance when your upper body weight is stacked above your hips. Keep your gaze forward and slightly up.
Some yogis take their Eagle Pose forward as they sit back deeper, but this can be too challenging for beginners. Even advanced yogis will often keep their Eagle Pose elevated to build their strength and balance. If you want to bring your elbow to touch your knee, follow the variation instructions below.
Common Mistakes
Garudasana can look (and feel) like a human pretzel. This can be great for flexibility and strength, but challenging for your balance. Keep your pretzel perfectly twisted and aligned by avoiding these common mistakes.
Common Mistake #1: Uneven hips
 in Yoga—Proper Form, Variations, and Common Mistakes eagle pose 5")
Any time you lift one leg, the hip wants to go with it. Uneven hips mean that your pelvis is tilted to one side rather than resting in one straight line.
Your hips during Eagle Pose should technically be in the same forward-facing, square position as they are in Mountain Pose. Square-aligned hips make for a happy low back and stronger balance.
How to Fix It: It’s OK for one hip to move upward as you try to hook the top leg over the standing leg. But once your thighs are in place, it’s important to adjust the hips back to center. Bring your hands to your hip creases and lower down the lifted hip.
Most often, the uneven hip will be on the upper leg side. For example, if your left thigh is on top, you will need to lower the left hip down to be in line with the right. Squeeze the glutes to help bring the hips into alignment.
Common Mistake #2: Straight standing leg
 in Yoga—Proper Form, Variations, and Common Mistakes eagle pose 6")
Eagle Pose is virtually impossible when your legs are straight. Yet many people try to keep their standing knee straightened and wonder why they can’t find the proper balance. The knee bend is essential to your balance and strength in this asana. In fact, the deeper you bend, the easier it is to cross the top leg and lock the foot behind your ankle.
How to Fix It: Some people find it helpful to start in Chair Pose before diving into Eagle Pose. Squat backward and engage all the muscles in your thighs and calves. This ensures that you have nice bent legs and a strong squat to form the foundation of the posture.
Common Mistake #3: Uneven knees
Eagle Pose challenges the flexibility of your joints and can feel a bit compressing on the knee. As long as you aren’t feeling any pain, this can be beneficial for building the muscles around your knees. The key is to keep your knees facing as forward as possible.
Oftentimes you will find one or both knees splaying out to the side. For example, as you cross your right thigh over your left leg, it’s easy for the left knee to wobble around and get pulled to the side by the opposite leg. Reorienting the left knee forward will help your whole body stabilize.
How to Fix It: The knee of your standing leg should be facing forward as much as possible. You shouldn’t feel any discomfort or awkward twisting in the knee joint. If the knee is splayed out too far, lift slightly out of the pose and bring it back to the center.
Common Mistake #4: Unhooked big toe
Much of the strength in Eagle Pose comes from interlocking your body together. The pressure of the toe hooked behind the calf holds your legs in place. Similarly, the resistance of your wrists and hands looped together allows you to open up your shoulders. If you don’t have these key “hooks” in place, you may find yourself feeling wobbly and unstable.
How to Fix It: Stretch out your ankles and wrists in advance. Focus on interlocking the joints before proceeding in the pose. If you are practicing on the left foot, ensure that the big toe of your right foot is tucked behind your left calf. Squat down deeper to ensure a secure “lock.”
If you can’t hook your toe behind your calf, use a block or actively press the top leg foot into the back of the standing leg calf.
Common Mistake #5: Rounded spine
Eagle Pose is all about lengthening and strengthening. While your lower body squats down, your upper body should remain long and tall. If your spine is rounding or hunching over your thighs, you need to lift your chest.
How to Fix It: Inhale and engage the core as you shift your gaze upward. Draw in your belly button towards your spine and straighten out your back as much as possible. Roll your shoulders back and down.
Variations
Reclined Eagle Pose
 in Yoga—Proper Form, Variations, and Common Mistakes eagle pose 7")
For a more restorative version of Eagle, you can practice this pose while lying on your back. This allows you to focus on the particular twists and turns of the asana while enjoying a nice hip and shoulder stretch. To do it:
- Start laying flat on your back.
- Wrap your right leg over your left and lock the right foot behind the left calf.
- Create your Eagle Arms by wrapping your left arm over your right and clasping the thumbs together.
- On an exhale, curl the body upward and bring your elbows pointing toward your knees. If it feels comfortable, touch them together.
- Feel the space between your shoulder blades opening and expanding.
- Inhale and lengthen flat back to the ground. Then, repeat 3-5 times, holding in the uprgiht position.
- Breathe deeply and keep everything engaged. Actively squeeze the thighs together and the arms together.
Block-Assisted Eagle Pose
 in Yoga—Proper Form, Variations, and Common Mistakes eagle pose 8")
If you cannot cross your foot behind your calf, a block can support your toe while you work towards building more ankle mobility. Simply start with a yoga block on the outside of your standing foot, then enter the pose as usual from a Chair Pose position.
Safety and Precautions
Eagle Pose is an intermediate to advanced posture. Avoid practicing Eagle Pose if you:
- Have knee, elbow, ankle, or wrist injuries
- Have low blood pressure
- Are more than 2 months pregnant
- Have planatar fasciitis or other foot injuries
- Have arthritis
Teaching the Pose
When teaching Eagle Pose, it’s easy to get your cues mixed up amidst all the twisting and curling of limbs. Clarify your instructions with these simple cues:
- Imagine sitting in a chair with your legs crossed. Actively squeeze your inner thighs together.
- Imagine your toe and your thumbs as locking points. Hook the toe behind the calf and latch the thumbs together to stabilize your joints in place.
- To expand the shoulder stretch, lift your elbows to shoulder height and bring your forearms away from your face.
- Keep your gaze on a fixed point ahead and maintain an upright torso as much as possible.
Preparatory Poses
Counter Poses
- Downward Facing Dog (Adho Mukha Svanasana)
- Reclining Bound Angle Pose (Supta Baddha Konasana)
Key Takeaways: Master Eagle Pose One Piece at a Time
Ultimately, Eagle Pose has three main parts:
- The leg twist (toe hook)
- The core stability (pelvis alignment)
- The arm twist (elbow lock)
Divide the posture into these three steps and you can work towards mastering the art of the majestic bird.
Namaste!