
Key Takeaway
Mastering Lotus Pose requires patience and gradual preparation through easier cross-legged positions, with hip flexibility and body structure playing crucial roles in achieving this iconic yoga posture.
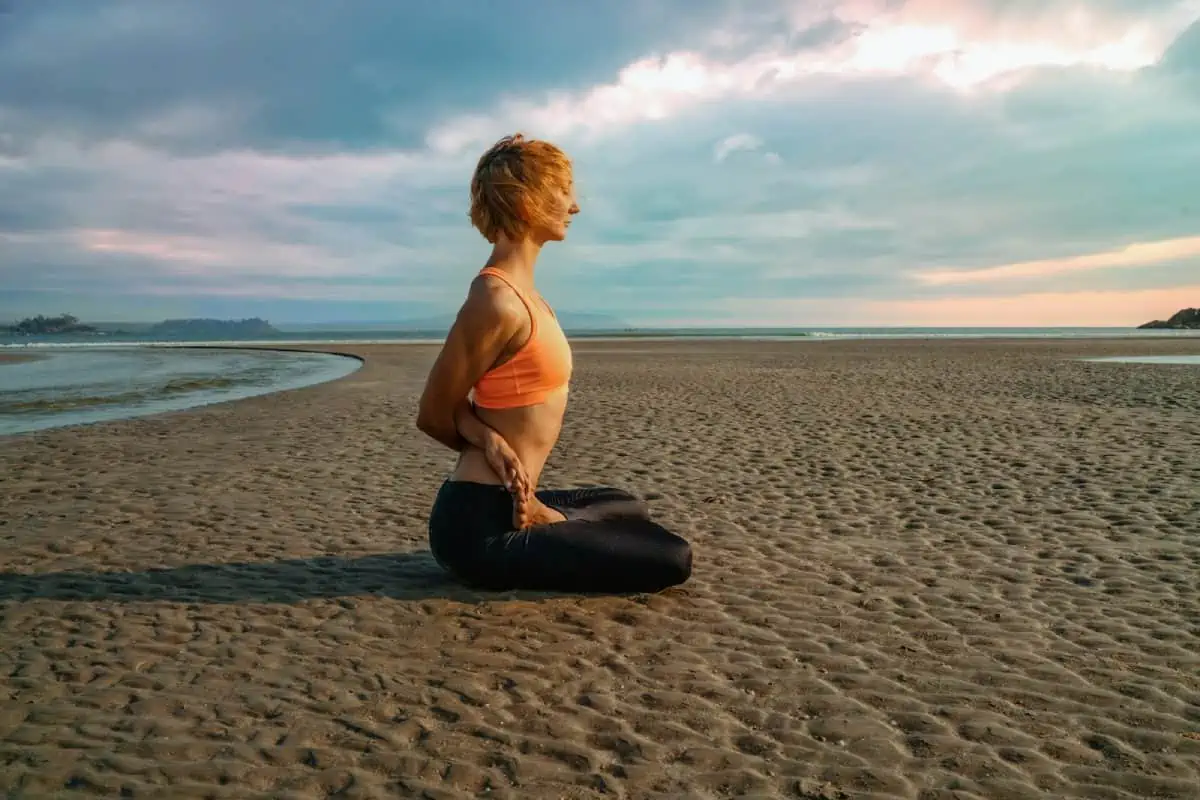
The Lotus Pose (Padmasana) is one of the most well-known yoga poses and is a common image used to represent the practice. However, very few yogis can actually achieve this posture, including those who have been practicing for years!
Yes, that’s right. While it may look straightforward, Padmasana is among the most challenging asanas, especially for western yogis.
In our modern lifestyles, we spend most of our day sitting on a chair, drastically harming our hip mobility. In fact, as a yoga teacher for 5 years, “tight hips” is by far the most common complaint I’ve heard from my students.
So, is it possible to become flexible enough to do this tricky cross-legged position? Well, it depends on several things, including your body structure. Regardless, if you want to give it a go, you’ll need to work on your range of motion first with some easier crossed-leg poses.
Read on to learn how to effectively and safely prepare your body for the lotus pose!
Contents
Preparatory Yoga Poses For Lotus Pose
The following postures are sequenced from easy to challenging, so I highly recommend doing them in progression. Be mindful of how each asana feels in the hips, back, and knees, and only move on to the next asana once you feel fully comfortable with the current one.
Easy Pose

First, begin in the easy pose (Sukhasana), sitting cross-legged comfortably. Keep both feet on the ground and cross your legs at the shins. The key here is to find ease, so feel free to use props to find more comfort.
Many people with tight hips will notice their spines rounding when they enter this position. To prevent this, sit on a yoga block or pillow. By elevating the hips, you ease pressure in the lower back muscles, hips, and knees, allowing you to find a straighter spine.
Sit in this pose for at least one minute (preferably longer) as you focus on your breath. You can also incorporate various yogic breathing exercises, such as Ujjayi or Nadi Shodana (alternate nostril breathing).
Bound Angle Pose

Bound angle pose (Baddha Konasana) is an excellent warm-up stretch for the hips as it works with the external rotation of the hip joint and opens the inner hip flexors, groin, and inner thighs.
Sit cross-legged in an easy pose, then bring the soles of your feet together and the knees out to the side. The distance between your body and your feet will determine the level of sensation you feel. For example, the further away, the more gentle the stretch, and the closer, the more intense.
Along with choosing the foot positioning, you can stay upright or fold forward. The former helps to improve posture, while the latter deepens the stretch in the inner hips. You can place blocks or folded blankets under your knees to support the joints if you remain upright.
Seated Spinal Twist

The seated spinal twist involves a different type of cross-legged position, yet it helps to improve hip mobility just as well. Plus, it improves spinal health and reduces tension in the back, which can relate to tight hips.
- In a seated position with the legs extended, bend your right knee and place the foot to the outside of the opposite leg, crossing at the thighs.
- Keep the left leg straight or bend the knee, bringing the heel close to the right hip. Crossing both legs in this position gives a deeper opening to the hips.
- Next, place your right hand behind your back with your fingers on the ground.
- Inhale to sit up tall and reach your left arm up, then, as you exhale, twist to the right side, bending the left elbow and hooking it to the outside of the right knee.
- Gently press the elbow into the knee to deepen the twist and gaze behind you. Hold for 5 breaths, release, switch the cross of the legs, and twist to the other side.
Cross-Legged Forward Bend

The cross-legged forward bend involves sitting in the simple cross-legged position, then adding a forward fold to work on spinal flexion and increase the hip stretch. This pose targets both hip and back tension and relieves pain in these areas.
- With your legs crossed in an easy pose at the shins, take an inhale to sit up tall (place a pillow under your sit bones if you are slouching).
- Then, as you exhale, bend forward from the hips, bringing the torso towards the crossed legs.
- Relax your head and neck and hold for 5 breaths. Option to then walk your hands to the right side for a side stretch.
- Hold for 5 breaths, then walk your hands to the left side to stretch the right side of your body.
Cow-Face Pose

Cow Face pose is vital for preparing for the lotus pose, as unlike other cross-leg asanas, this one works with internal rotation. In addition, it stimulates kidney function, strengthens the back muscles, and is known to help reduce pain from sciatica and fix lousy posture.
- Start with straight legs and bend your left knee, stacking it directly over the right and bringing the left foot towards the left hip.
- If there is a large gap between the knees, place a pillow or folded blanket between them to protect the joints.
- Next, bend the bottom leg, bringing the right foot to the right hip. Ensure your knees remain stacked.
- Along with the deep cross of the legs, you can bind the arms behind the back, which stretches the chest and shoulders.
Square Pose

The square pose is a yin yoga posture that increases hip mobility through external rotation. It stretches and opens many muscles around the hips while strengthening the groin and glutes.
Start from the seated cross-legged yoga pose, then move the left leg slightly away, bringing the shin parallel to the top of your mat and the knee and foot in one line. Next, position your right shin over the left, placing the right foot on the left knee and the right knee above the left foot.
Note that this posture can feel uncomfortable for many, so if it feels too much to stack the shins in this way, gradually adjust the leg position until it feels okay. You want to feel a good stretch in the glutes and outer hips, but there should not be any pain.
Take 5 to 10 breaths on one side before releasing the legs and crossing them the other way, with the right leg underneath.
Half Lotus Pose

After doing all the preparatory yoga poses above, you can try the half variation of the lotus pose. Half Lotus involves bringing the top foot close to the groin while keeping the other foot on the ground.
Start by sitting cross-legged in an easy pose. Then lift one foot and place it on the opposite thigh (as close to the groin as possible) with the sole facing up. If this feels comfortable, you can attempt full Lotus.
If half Lotus is not accessible or creates too much discomfort, release the top foot away from you and grab that foot and the top knee from underneath. Then, keeping the knee bent, lift the foot and gently rock the leg from side to side (while holding the knee and foot).
This can help to loosen the hip joint, increase blood circulation in the lower body, and relax the muscles. After a few rocks, release the leg on top of the other and see if it feels better.
Full Lotus Pose

From Half Lotus:
- Briefly move the bottom leg away from the top one so you can pick it up.
- Lift the foot and slowly move it towards the other side of the groin, placing it on the opposite thigh.
- In the final position, both soles should face upwards, and the heels should be close to each other.
- If you’ve got the leg position, straighten your spine and press your sitting bones down. Relax your shoulders and rest your hands on your knees in Gyan (meditation) mudra.
- Close your eyes and breathe deeply for 10 or more breaths.
- To come out, use your hands to gently straighten the legs. With legs extended, move your hips side to side to release any tension, then repeat, changing the cross of the legs.
Final Thoughts On Yoga Crossed Legs Pose
Unless you are naturally super bendy, it will likely take time to master advanced yoga poses like Lotus. So don’t expect to get it overnight. Instead, cultivate a regular yoga practice (20 minutes a day is ideal), be kind to your body, and let go of your desired outcome.
Moreover, remember that we all have different body shapes and structures. Full Lotus is not possible for some people, no matter how much they practice, and that’s ok. Your ability to do the lotus pose does not make you any more or less of a yogi!