
We just published why all yoga teachers need a website now it’s time to walk you through setting up your own.
When we first started down this path, we knew absolutely nothing about websites, online marketing, SEO, etc.
We taught ourselves everything we needed to know. And guess what? It isn’t that hard! We learned by reading blog posts like this one, buying premium online courses, and working with mentors and coaches along the way.
Fast forward a couple of years, and we have a thriving online business that allows us to travel the world while teaching yoga!
If we can do it, so can you. 🙂
Here’s the best part….
It won’t cost you much! If you follow the steps below, you will have good website up and running for less than $50/year!
Before going further, be sure to download the Beginners guide to Creating a Yoga Website below.
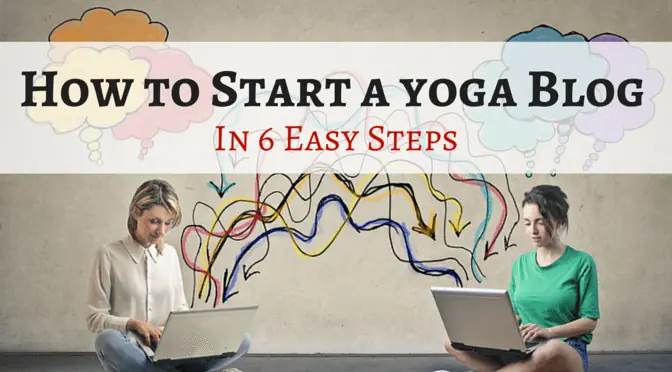
Here is your [Yogi-Approved] step-by-step guide: How to Start a Yoga Blog – in 6 easy steps!
How to Start a Yoga Blog
Here’s an outline, click to jump around as needed.
-
- Select Your Domain Name
- Find your niche
- Pick a name that is available
- Buy Hosting (Bluehost.com)
- Purchase “YourWebsite.com”
- Pay for 1-3 years of hosting
- Standard pricing is fine (avoid add-ons)
- Choose a CMS (WordPress)
- WordPress is the way to go
- Upload WordPress onto your hosting
- Login to your website via “YourWebsite.com/wp-admin”
- Decide Who Will Design Your Website
- You, your friend, or hire a professional
- My personal recommendations for design
- Select A Theme (Design Template)
- Free themes vs. premium themes
- Where to find themes
- What to look for when selecting a theme
- Uploading your theme
- Design Your Website
- Pages (About, Contact, Blog, Email, etc.)
- Menu bar
- Logo
- Plugins
- [BONUS GIFT] download our Free Guide: 25 Ways Yoga Teachers can Earn More Money
- Select Your Domain Name
 Pin me first? Then keep reading! 🙂
Let’s get started! This article contains a lot of information. Avoid getting overwhelmed by taking it in slowly. I recommend blocking off a couple of hours to go through this entire process in one sitting. Take your time and follow everything step-by-step. 🙂
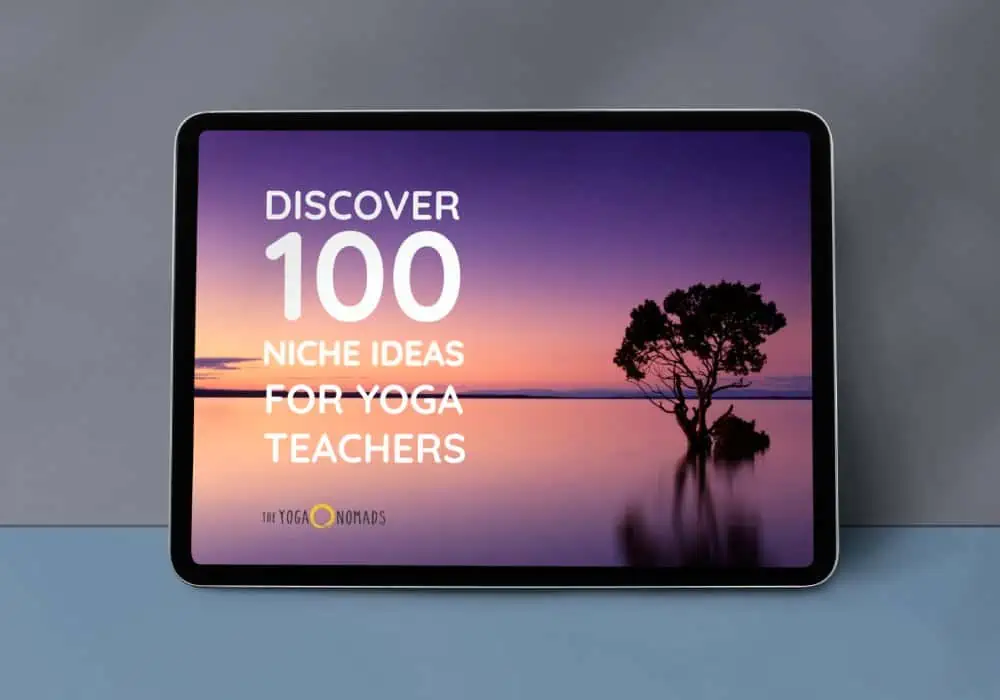
Free download: 100 Niche Ideas for Yoga Teachers
Download now1) Select Your Domain Name
Your “domain name” is the name of your website. For example, our domain name is “TheYogaNomads.com.” Only one person can have each specific domain name.
Give this thoughtful consideration and don’t rush this process. Your name will be with you for a long time.
Consider this: What is the purpose of your website? Are you a yoga teacher who wants an online presence? Or are you trying to start a blog talking about yoga?
Yoga teachers – Chose a domain name with your name in it, for example: JaneDoeYoga.com.
Yoga Bloggers – If you’re trying to create a yoga blog for profit (or pleasure) – consider a name that reflects your interest/passion around yoga (niche). Who are you trying to serve? YogaForMen.com, HistoryOfYoga.com, etc.
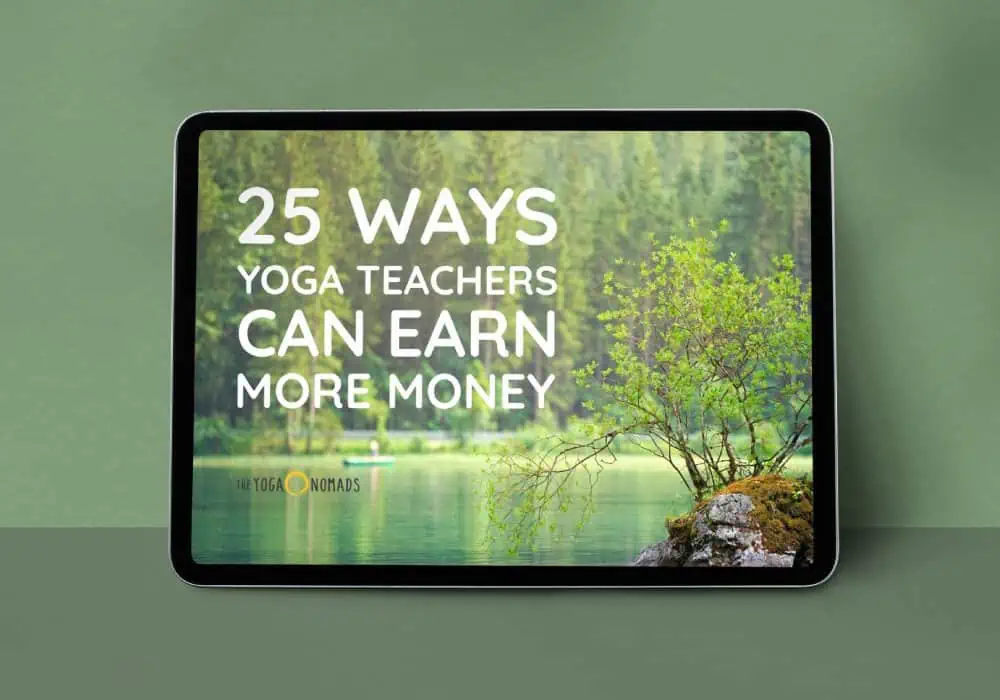
Free download: 25 Ways Yoga Teachers can Earn More Money
Download nowStep 1: Brainstorm a list of names that interest you.
The key is to jot down as many names as possible (at least 15). Not sure what your niche is? Start by discovering your yoga niche.
Step 2: Select the top 3-5 names that interest you.
No go through your list and ask yourself…
- Will this name be relevant for me and my audience in 5 years? (if not, ditch it)
- Is the name easy to remember and write? (ie: avoid the use of dashes, underscores, slang words, etc.)
- Can you see yourself being interested in this topic for the next 3+ years?
Step 3: Check to ensure that domain name is available
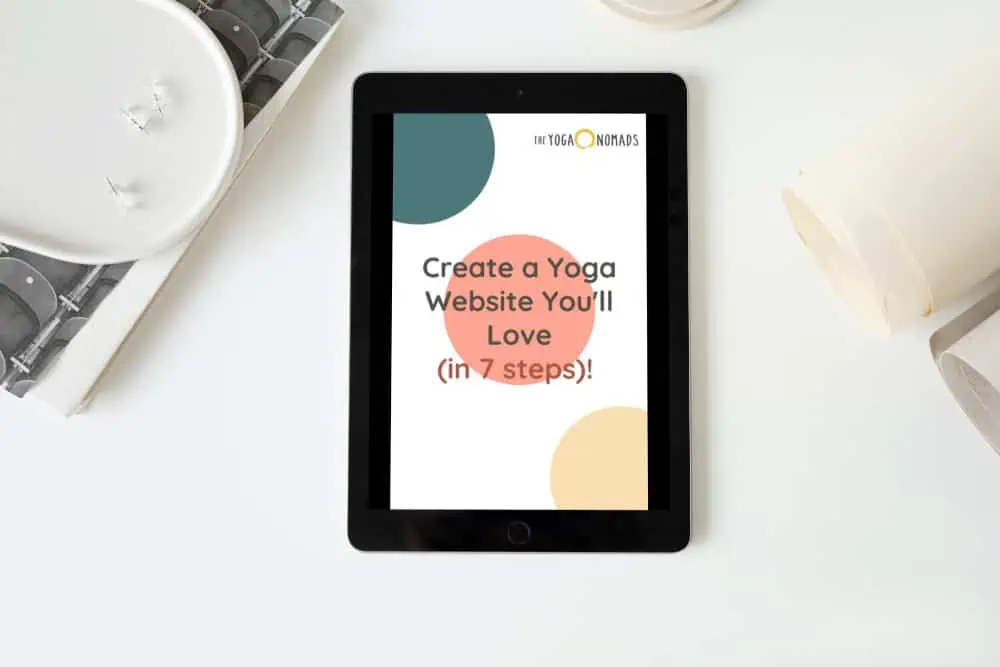
Free Course: Create a Yoga Website You'll Love
(7 steps)
Enroll for Free
Go to Instant Domain Search and enter in your desired domain. Is the .com available? If yes, great! You’re in business. If the .com is NOT available, I recommend choosing a different domain.

2) Purchase Domain Name And Hosting From Bluehost.com
As website owners, we pay a small fee each month to “host” our website. Think of this like your website needing to pay rent each month to live on the internet. There are countless options for hosting, but Bluehost.com is easy to use, well liked, and very inexpensive (as little as $3/month).
Learn to Create a Website for Your Yoga Business
Enroll for FreeStep 1: Go to BlueHost.com and click “get started now” from home page

Step 2: Choose Basic Hosting – it’s the cheapest and it has everything you need

Step 3: Enter your domain name
- If this is your first website, enter your domain in the “new domain” box.
- Already own a domain name? Enter in the “I have a domain name” box
Protip:
Make sure the “.com” is available instead of .org, or otherwise. You will get more Google search traffic with a “.com” and it’s easier for people to remember.

Step 4: Create a Bluehost account
- Fill out your personal information
- Uncheck all the add-on purchases (you don’t need them)
 Step 5:
Purchase hosting
- I recommend buying 3 years of hosting because it’s cheaper in the long run
- Keep an eye out for Bluehost sales – twice per year they drop prices on hosting

3) – Install Your Content Management System (WordPress)
In this guide, we’re only going to talk about using WordPress to build your website.
Wait, do I have to use WordPress?
No, there are other options but WordPress is the king. It’s easy to use, has thousands of free customizations (plugins), and it works for all website shapes and sizes.
Step 1: After purchasing your Domain Name + Hosting, you’ll be directed to My.Bluehost.com
- Click “websites” on the top menu bar under hosting

- Click “install now” under WordPress
- Directs to you mojomarketplace.com (owned by
Bluehost )

Step 2: Install WordPress From MojoMarketplace.com
- Click install WordPress

- Confirm your domain xyz.com

- After confirming, check the box saying “I have read terms and conditions”
- Click Install Now (takes a couple of minutes)

Step 3: Log in to your new website!
- From MOJO Marketplace —> Click “view password”

- Congrats! You can now login to your website!
- You password expires in 12 hours. Remember your login/password combination and click the “Admin URL” link to login.
- If you get lost here, just go to www.YourWebsite.com/wp-admin to log in (this is how you will login to your website from here on out).

- Open a new tab, then go to YourWebsite.com/wp-admin (this is how you will log in every time)
- Login to WordPress with your username and temp password

- Congrats! you’re inside your “WordPress Admin Panel” – also known as the “backend” of your website.
Step 4: Change your password
- While in the WordPress Admin Panel
- Click “users” on the left side menu bar

- Find yourself and click “generate password”
- Change your password (stronger is better)
- Hit save to confirm changes

Now you can officially login to your website whenever you want!
You’re almost done for today…
4) Decide Who Will Design Your Website
Designing your website is putting things where you want them and making sure it looks gooooood. A solid design improves your visitors experience. This is an important step and as I continue to say, take your time.
There are 3 options to design your website:
- Design it yourself (recommended)
- Find a friend/acquaintance to design it for you (not recommended)
- Pay someone to design your website (situational)
[Option #1] You can do it yourself – FREE
For a yoga teacher, this is my #1 recommendation. WordPress is intuitive and it’s hard to make a simple website look good. When it’s all said and done, you will understand WordPress and how to make future changes and updates to your site. (This is critical).
What if you want to update your teaching schedule or mention your upcoming workshop? If someone else builds your site you’ll never know how to make changes on your site which can really hurt you.
[Option #2] Family or friend can design it – LOW COST or FREE
This option doesn’t cost a lot upfront, but it can hurt you in the long run so I don’t recommend it. I’ve seen countless website design projects crumble because of these types of relationships.
Here’s why…
- Your friend will usually prioritize your website much lower than their paying clients. This will lead to average work.
- If someone else builds it for you, you won’t know how to make changes within WordPress when you take over!
[Option #3] Pay someone to design it – $1,000+
A good professional designer can produce amazing websites. However, it’s really hard to find a good designer. Bad designers are everywhere – but they don’t produce quality results.
Good designers will make your website look and feel great! But think about the purpose of your website – does it make sense to spend $1,000-$5,000 right now?
As a yoga teacher – I recommend designing your first website on your own. It’s a good thing to learn, saves money, saves future headaches, and it’s so easy even a yogi can do it. 😉
As an aspiring yoga blogger – I recommend either building it yourself or paying someone to design your site depending on your situation. Good design can make a huge difference when trying to compete with all the other pretty blogs on the internet. However, it might make sense to create your own functional, yet simple design for the first year or two before investing thousands of dollars in a new design.
5) Choose And Upload A “Theme”
*WARNING: Is someone else is designing your website? First, discuss theme options with them BEFORE completing this step. You may skip this step all together as some designers have specific themes they like working with.*
You’re designing it yourself? Great! Here we go…
A “theme” is essentially a template that helps you make your website look a certain way. There are thousands of themes to suite all different types of websites.
Some themes are free and others charge a one-time fee of roughly $50. I recommend paying for your theme because they have better features and offer better support in case you need help. If $50 isn’t possible for you, you can survive on a free theme for now.
Step 1: Decide what type of website you want
This can be a tricky step. Your goal is to decide what you want your website to look like (the more specific the better). I recommend searching around the internet to find a handful of websites that you realllllly like and want to mimic with your own site.
Do you want a simple “yoga teacher” website? A specific vertical blog? A single-page website? Do you want it to look like a magazine? Make sure you track everything that interests you, it will make your life easier in step 2….
Step 2: Choose your theme (I recommend Themeforest.com)
Now that you have a list and an idea of what type of site you want, time to pick a theme.
Two options:
- Download a preexisting theme from the MOJO Marketplace (fast, easy, $29+) – login to the WordPress account of your website. Then click Marketplace > Themes. Buy and Install the theme you like. Make sure to “demo” a few themes before buying one.
- Download a theme from ThemeForest.com (biggest selection, $0+) – there are many options to choose from (including free themes), but also more complicated. This is my first choice because they have the biggest selection and it’s what I feel comfortable with.
Make sure you select a theme that fits the following criteria:
- “Responsive” – meaning: it looks good on mobile devices too
- Created with in the past 12 months – ensures modern features
- Great feedback from other customers – not all themes are created equal
Make sure you hit “preview/demo” to play around with each theme that interests you. After you select your theme, download the .zip file to your computer.
Step 3: Upload your theme from ThemeForest.com
- Download the .zip file of your theme to your computer
- Go to “FTP” in your
Bluehost Hosting account page - Upload the .zip file of your theme in your FTP account
- Login to YourWebsite.com/wp-admin
- Click appearance > themes > then turn on your new theme!
6) Make Your Website Look Great!
First things first, create content to share on basic pages. Think about your students, what would they be looking for on your website? They want to know things like your teaching schedule, your yoga philosophy, and how to contact you.
Yoga teachers should have the following pages…
- About – Share your personal story + relevant trainings and teaching experience
- Contact – A way for your students to contact you (email, social media, maybe even cell phone)
- Schedule – Update your teaching schedule so your students can find you
- Blog (highly recommended) – Just write one article per week as a yoga teacher. They can be as short as 300 words. However, if you love writing, publish 3x per week.
- Photos – Remember you’re selling yourself, only publish high quality images that accent your personality.
Create a Menu Bar
Login to WP backend > click Appearance > click Menu > drag and drop your pages into place
Include all your “pages” in your primary menu bar. This makes navigating your site easy!
Here is an example of great menu bar from Amber Zucksworth at EpicSelf.com!

Do I need a logo?
Yes, but don’t stress over this step. There are 3 options: pay someone, do it yourself, or just use nice text with your name.
My recommendation: Use your name in a really nice font for your logo. After all, you’re not a consumer product designed to stand out in the grocery store…
Standard Plugins (you want these 3)
Plugins are little add-on applications that make your website better and your life easier. Most are free, some cost a few dollars. Here are some important ones to get your started. Start with the free version of each.
- Askinet – Prevents people from commenting spam on your website
- Wordfence – Prevents hacker nerds around the world from breaking into your website
- Yoast SEO – Makes SEO so easy even a yogi can do it 😉
Congrats, you did it! That wasn’t too bad, was it?
We’re committed to helping yoga teachers improve their lives. We help you with your marketing so you can focus on helping your students instead of worrying about money. Stay tuned for more online marketing tips for yoga teachers!

We’re offering this free download so yoga teachers like yourself can understand what it takes to create a website of your own! The guide is free and you can instantly download it to your computer. Join 100s of other yoga teachers who already downloaded the guide!
Cheers!
Brandon
PS did you enjoy this article? Pin me!

This is a great step by step post for yoga teachers!
Thanks Melissa!
Great information! I need to check out your blog about why every yoga teacher needs a website. Thanks!
Thanks Tara! I think you mean this one? https://www.theyoganomads.com/yoga-teachers-need-a-website/
I love your writing style. This article is enriched with knowledge and information regarding my needs. Thank you for sharing this. Keep it up.
Thanks for the feedback! We are so glad our content is helping you!
Nice Information!!!
Thanks so much for your kind words. We greatly appreciate them.
Your Blog is Very Informative. Here You talk about the How to Start a Yoga Blog in 6 Easy Steps. This blog is very helpful for those who want to be write their own blog. Thanks for sharing this blog.
Thanks so much for this. I am a yoga teacher but I’m really a philosopher and my niche is the ecological emergency. I have used the name http://www.knowyogaireland.com for my website but I’ve had huge challenges trying to make it user friendly… I also don’t know that my logo or my site really reflects the ‘attune to compassion’ or ‘let love do it’ vibe that I want to get across. I’m really asking for help, I suppose. Do you provide this kind of help? (Also Yoast isn’t free on WordPress.com which is where I host my site at the moment – it’s quite expensive! Has that changed, I wonder? Also I loved your interview with Ellen of Yoga in the Park – but she’s closed! So sad. But I want to do that here, in Ireland. I don’t know how…)
Agree that WordPress is the best to create and edit a website by own great information . Thanks for sharing
this was super helpful 😀
In keeping with this helpful site, yoga is beneficial to your health and can promote relaxation. I use Ashwagandha gummies every morning and evening before a meal to get the best results and minimize stress, and the gummies are great. We appreciate you sharing this wonderful information with us.